Quick Answer: Best Minecraft Path Gradient Method
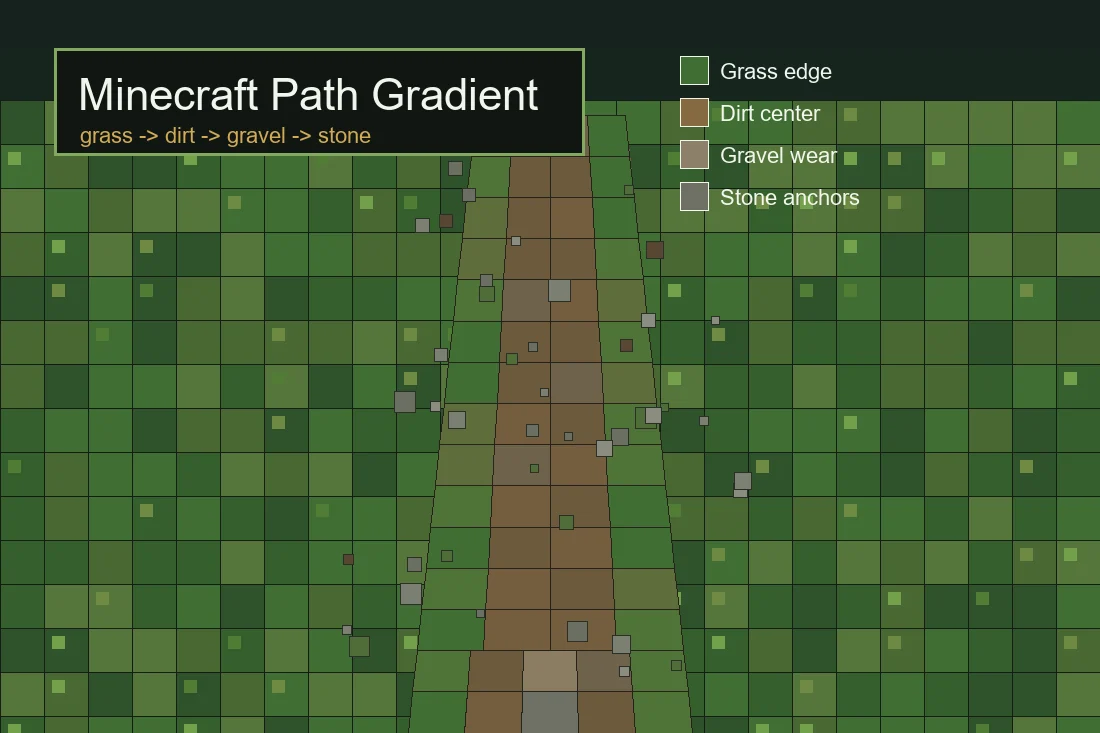
The safest Minecraft path gradient method is to keep the center readable as the walking surface, then blend outward into the biome. For a forest or village road, start with path block, dirt or coarse dirt in the center, mix gravel and rooted dirt through the middle, then let grass, moss, leaves or podzol soften the edges.
A path gradient should explain foot traffic. The center is compacted and easier to walk on. The shoulders collect grass, mud, moss, sand or loose stones. If every block is scattered evenly, the path stops looking like a route and starts looking like a noisy floor pattern.
Reliable starter rules
- Keep one main block through the center line so players can read the route.
- Use rougher or greener blocks near the edges, not evenly everywhere.
- Match the biome before choosing accent colors.
- Use stone or gravel where carts, gates, bridges or village squares need structure.
- Keep rare decorative blocks as accents unless the whole road is a showcase build.
- Test the path from eye level and from the direction players approach it.
Why Minecraft Path Gradients Work
Paths are one of the first details players notice because they guide movement. A flat strip of one block can work for a clean city, but most villages, forests, farms, ruins and cave roads look better when the path has a controlled gradient from worn center to natural edge.
The best Minecraft pathway designs use both color and texture. Dirt, coarse dirt, rooted dirt, mud, gravel, moss, grass and stone all suggest different amounts of wear, moisture and structure. When those blocks are placed with direction, the route feels used instead of decorated at random.
For vanilla behavior and naming, check the Minecraft Wiki dirt path reference before planning survival paths or command block palettes.
Width changes the recipe. A one-block trail needs a simple center and a few edge accents. A three-block road can hold a visible middle lane. A market street, bridge approach or castle road can use stone, slabs, stairs and lighting because it has more surface area to show the gradient.
If you need to compare block order before building, open the Minecraft Gradient Generator then use this guide to decide where each block belongs on the path.
9 Minecraft Path Gradient Palettes
Use these Minecraft path ideas as starting palettes. Swap blocks for biome, resource pack, survival availability and how formal the route should feel.
| Path Style | Gradient Sequence | Best Placement |
|---|---|---|
| Forest trail | grass block -> moss block -> rooted dirt -> coarse dirt -> dirt path | Keep dirt path in the walking line, with moss and grass breaking up the shoulders. |
| Village road | grass -> coarse dirt -> dirt path -> gravel -> cobblestone | Use gravel and cobblestone near wells, gates, farms and busy junctions. |
| Medieval road | mud -> packed mud -> coarse dirt -> gravel -> cobblestone -> stone bricks | Dark muddy edges, rough middle, stronger stone near buildings and bridges. |
| Mountain trail | stone -> andesite -> gravel -> coarse dirt -> grass | Place stone on cliffs and slopes, then soften into dirt and grass near flat ground. |
| Cave path | deepslate -> cobbled deepslate -> tuff -> gravel -> stone | Darken inward toward the cave and brighten near the entrance. |
| Desert path | sand -> sandstone -> cut sandstone -> terracotta -> orange terracotta | Use terracotta near market stalls, walls and sun-baked trim rather than every edge. |
| Swamp boardwalk edge | mud -> packed mud -> mangrove planks -> moss carpet -> grass | Keep planks readable as the route and use mud or moss at damp edges. |
| Nether trail | netherrack -> crimson nylium -> nether bricks -> blackstone -> basalt | Use blackstone or basalt where the path needs a safe, built-up edge. |
| Overgrown ruin path | moss -> mossy cobblestone -> cracked stone bricks -> gravel -> coarse dirt | Cluster cracked and mossy blocks around broken edges, not as a checkerboard. |
Choose Path Width Before You Choose Every Block
A one-block trail should stay simple. Use one main center block and let surrounding terrain do most of the blending. For example, a forest trail can be dirt path with occasional coarse dirt, while moss and grass stay outside the walkable line.
A three-block road gives you more control. Keep the middle readable, then vary the left and right shoulders with gravel, rooted dirt, moss, leaves, grass, mud or stones. Wider roads can support borders, lamps, drainage, slabs and bridges, but they still need one clear route through the center.
How to Place a Path Gradient Without Random Noise
Start by drawing the route with one main block. Make sure it connects doors, farms, bridges, gates or terrain features before you add decoration. A path that does not guide movement will still feel wrong even if the palette is beautiful.
Use a 50/30/15/5 split for most Minecraft path gradients. About half the path should be the main walking block, 30 percent a close transition, 15 percent an edge texture and 5 percent a strong accent. This keeps the route readable while still adding detail.
Shape the gradient around activity. Add gravel where carts would roll, mud near farms or water, moss under shade, stone at bridges and cobblestone near buildings. The blocks should tell a small story about how players and villagers use the road.
Avoid perfect stripes on natural paths. Straight bands can work for city streets, but trails and village roads usually look better with soft clusters and uneven shoulders. Repeat the placement rule, not the exact same patch.
For villages
Connect doors and farms first, then add gravel and cobblestone at busy intersections.
For forests
Let moss, grass, leaves and rooted dirt soften the edge while the center stays walkable.
For caves
Darken inward with deepslate or tuff and use gravel or stone near the entrance.
Survival-Friendly Minecraft Path Gradients
In survival mode, start with blocks you can gather in bulk. Dirt path, dirt, coarse dirt, gravel, cobblestone, stone, moss and mud are usually easier to scale than rare decorative blocks. Save terracotta, blackstone, copper or polished variants for landmarks and entrances.
A practical early-game path is grass edge -> coarse dirt -> dirt path -> gravel. Add cobblestone only near doors, bridges or places where the route needs to feel reinforced. This keeps the path cheap while still giving it direction.
Build a ten-block sample before replacing a whole village road. Check it during daylight, torchlight and rain if your resource pack changes colors strongly. Then copy the logic across the route instead of copying the exact sample.
Common Minecraft Path Gradient Mistakes
Mixing too many textures
A path can include variation, but every block should support the route. Too much gravel, moss, mud and stone in equal amounts makes the road lose direction.
Forgetting the destination
Good paths connect real places. Build the route between doors, farms, mines, bridges and gates before adding palette details.
Using bright accents everywhere
Lanterns, flowers, copper, terracotta and leaves work best at edges, turns and landmarks. Spread them evenly and the route becomes cluttered.
Ignoring biome color
A desert path, forest trail and snowy road need different edges. Match nearby blocks before choosing the final gradient.
FAQ
What is the best Minecraft path gradient?
For most villages and forests, grass, coarse dirt, dirt path, gravel and cobblestone make a reliable path gradient. Keep dirt path or coarse dirt in the walking line and use grass, moss or stone near the edges.
How many blocks should a Minecraft path use?
Small trails usually need three to four blocks. Wider village roads, medieval roads and cave routes can use five to seven blocks because the surface has enough room for a readable transition.
What blocks are good for Minecraft pathway designs?
Dirt path, dirt, coarse dirt, rooted dirt, mud, gravel, moss, grass, cobblestone, stone, andesite, tuff, sandstone and wood planks are strong choices depending on biome and style.
Should path blocks be random?
No. Natural variation helps, but the path should still have direction. Keep a readable center and use rougher or greener blocks near the shoulders.
Is a path gradient different from a wall gradient?
Yes. A wall gradient usually follows height, damage and shadows. A path gradient follows foot traffic, terrain, moisture, road width and the route players use.
Plan the Path Palette Before Rebuilding the Whole Road
Use these path gradient recipes as a starting point, then compare candidate blocks in the generator before replacing a full village road, trail or cave route.
Use the Minecraft Gradient Generator