Quick Answer: How to Make a Good Minecraft Block Gradient
A good Minecraft block gradient has two clear endpoints and a small number of compatible middle blocks. Start by deciding what should change: brightness, hue, texture, material age or biome. Then choose a beginning block and an ending block that belong to the same visual story. For example, a natural wall might move from grass and dirt into coarse dirt, stone, tuff and deepslate rather than jumping from grass straight to polished quartz.
The middle of the sequence does most of the work. Use one or two transition families that share a similar texture density with the endpoints. A smooth gradient does not require every block to have a mathematically equal color step; it needs the eye to understand why one material leads into the next. Texture, lighting and build scale matter as much as the color swatch.
Keep the result readable in the actual build. Test a small sample from normal player distance, then check it in the lighting where the wall, path or roof will be seen. If the blocks look noisy, remove the strongest accent before adding more detail. A shorter, calmer sequence usually looks better than a long list of interesting blocks.
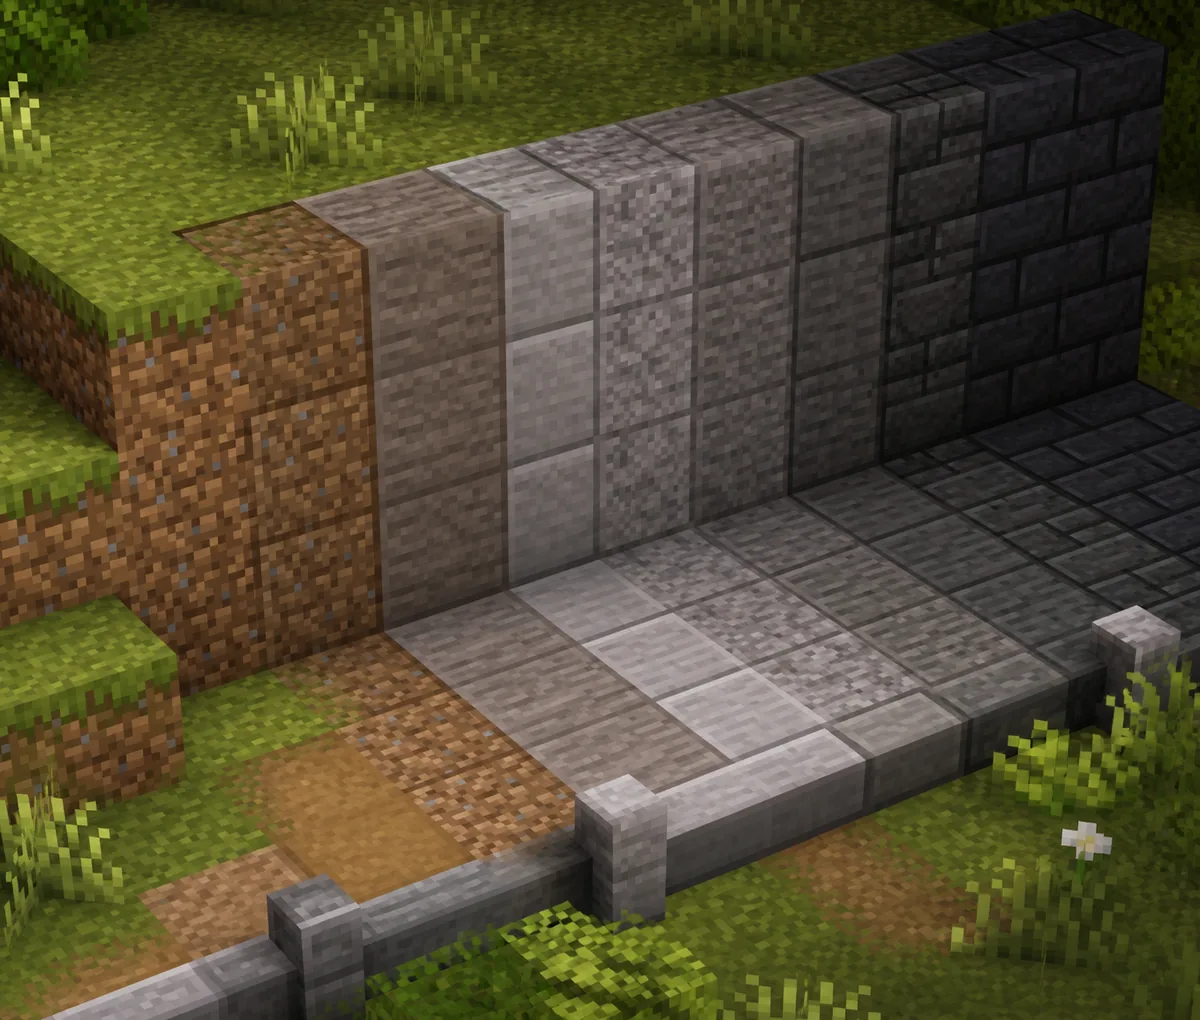
Reliable Starter Recipe
- Choose the build area first: wall, path, roof, cliff, floor or terrain edge.
- Pick two endpoint blocks that share a color or material direction.
- Add one close transition family before adding a second texture family.
- Use three to five blocks for a small feature and five to seven for a large surface.
- Keep high-contrast or rare blocks as accents instead of using them everywhere.
- Place the sequence in a small test patch at the final viewing distance.
- Use the Minecraft Gradient Generator when you need to compare candidate block orders quickly.
What Is a Minecraft Block Gradient?
A Minecraft block gradient is a planned transition between blocks used to make a surface feel connected. The transition can be light to dark, warm to cool, clean to weathered, smooth to rough or natural ground to built structure. It is different from placing random texture blocks because every part of the sequence has a role and the order supports the shape of the build.
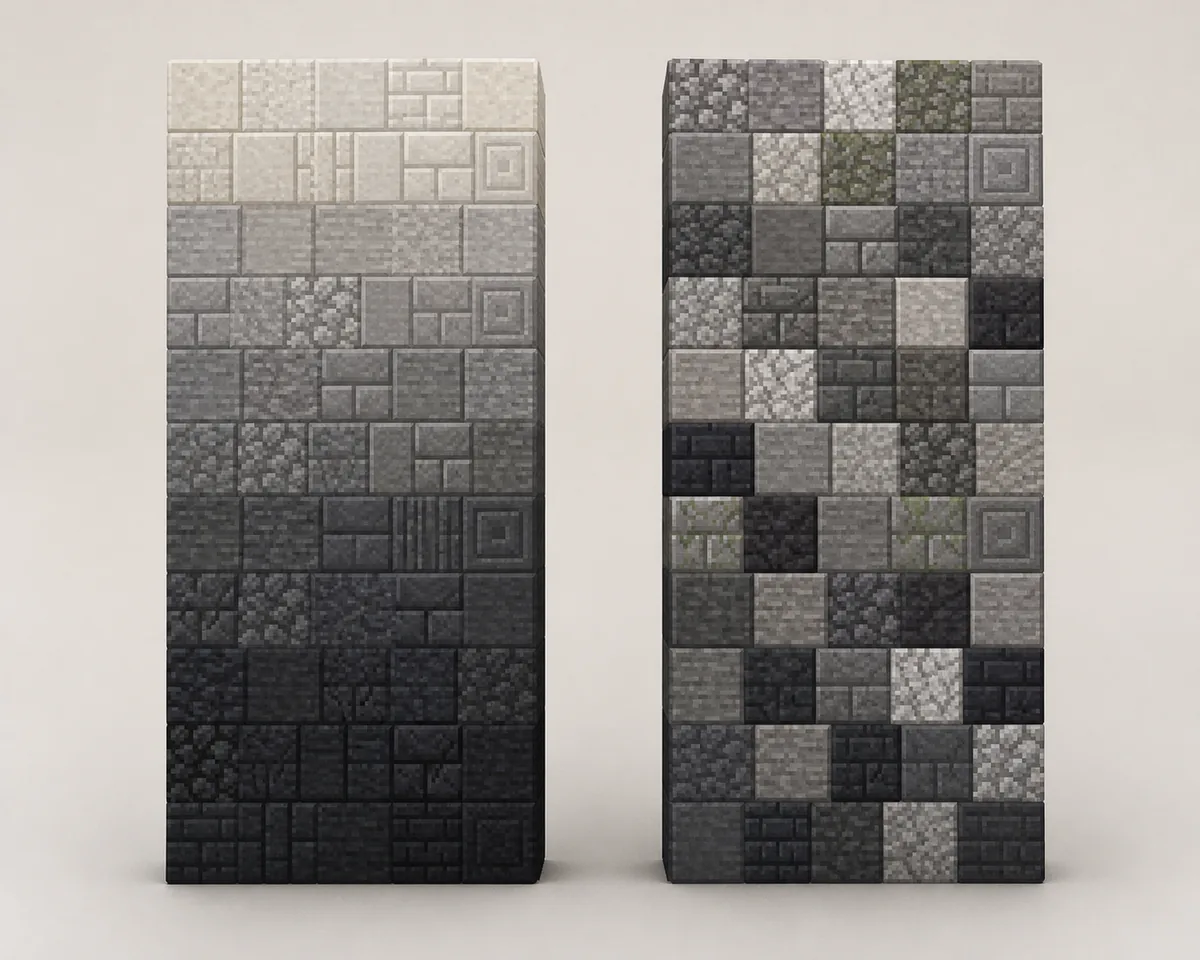
The best gradients combine four checks. Color keeps the sequence visually related. Brightness controls depth and direction. Texture density prevents a polished block from sitting awkwardly beside a very noisy block. Material style tells the viewer whether the surface belongs to a road, castle, cave, roof, ruin or biome edge.
Think of a gradient as a decision tool, not a rule that must be copied one block at a time. The same sequence may need fewer steps on a one-block path, more steps on a wide wall and different accents under shaders or a resource pack. The final test is always the surface in context.
For current block names and block-family details, check the Minecraft Wiki block reference before planning a survival material list.
A useful way to judge a sequence is to remove the most decorative block and see whether the transition still works. If it collapses without one bright copper, glazed or quartz accent, the palette may be relying on contrast instead of a real relationship. Add the accent back only where it helps corners, entrances, damage or focal points.
Scale changes the right answer. A five-block sequence can read clearly on a small house, while a long cliff may need repeated groups with subtle variation. Avoid repeating a perfect stripe across a natural surface; repeat the placement logic and shift the clusters so the wall or terrain still feels organic.
Keep the generator result as a starting point, then adjust the sequence for the build's scale, lighting and available materials.
If you want to compare endpoints before placing blocks, open the Minecraft Gradient Generator then use this guide to decide how the sequence belongs in the build.
8 Minecraft Block Gradient Palettes to Test
Use these sequences as starting points, not fixed recipes. Swap blocks for the biome, resource pack, build scale, lighting and materials you can actually gather.
| Build use case | Starter sequence | How to place it |
|---|---|---|
| Grass to dirt edge | grass block -> dirt -> coarse dirt -> rooted dirt -> mud | Keep grass at the living edge, use dirt and coarse dirt through the middle, then place mud near water or heavy wear. |
| Gray stone wall | stone -> andesite -> tuff -> cobbled deepslate -> deepslate | Use stone for the main field, tuff as the middle texture and darker blocks near the base, corners or shadow. |
| Forest ruin | moss block -> mossy cobblestone -> cobblestone -> cracked stone bricks -> stone bricks | Cluster moss and cracks near the ground and damaged edges instead of making a uniform checkerboard. |
| Warm wooden facade | oak planks -> stripped oak -> spruce planks -> dark oak -> mud bricks | Keep one wood family dominant, then use darker blocks under eaves, around doors and near the foundation. |
| Desert build | sandstone -> cut sandstone -> smooth sandstone -> terracotta -> orange terracotta | Let sandstone carry the wall and reserve terracotta for bands, windows, market details or sun-facing accents. |
| Dark roof | spruce planks -> dark oak -> deepslate tiles -> blackstone | Move darker toward eaves and ridges, but keep enough value contrast to show the roof shape from below. |
| Nether structure | netherrack -> crimson nylium -> nether bricks -> blackstone -> basalt | Use the warm blocks in the terrain transition and the structured bricks, blackstone or basalt around built edges. |
| Light stone detail | calcite -> diorite -> quartz block -> smooth quartz | Use the light family for trim, towers or interiors and break long runs with a darker frame or shadow line. |
How to Choose the Middle Blocks
The middle block should solve the largest visual jump between your endpoints. If the colors match but the textures clash, choose a block with a calmer surface before choosing a brighter color. If the textures match but the brightness changes too quickly, add a medium-value block instead of another high-contrast accent.
Material story matters too. A path can move from grass to dirt to gravel because the blocks suggest wear and foot traffic. A castle wall can move from stone bricks to tuff to deepslate because the sequence suggests weight and shadow. The same block may be useful in one story and distracting in another.
For most builds, choose one main family and one supporting family. A third family can work as a small accent, but it should have a clear job: marking an entrance, showing damage, separating a foundation or connecting the surface to nearby terrain. This keeps the Minecraft block gradient understandable from both close and far views.
Where to Use a Minecraft Block Gradient
Walls usually need a vertical or depth-based gradient. Put calmer blocks across the main field, use darker or rougher material near the foundation, and reserve strong accents for corners, windows, supports and damaged sections. On a large wall, repeat the relationship in irregular clusters rather than drawing perfect horizontal bands.
Paths need a readable center line. Keep the main walking material through the middle, then blend the shoulders into grass, moss, dirt, gravel, mud or nearby stone. A path gradient should explain movement, so the edge blocks should not overpower the route. The dedicated path guide covers width and biome-specific examples in more detail.
Roofs and cliffs benefit from gradients that follow form. Darker blocks can sit under eaves or at the lower face of a cliff, while lighter blocks can catch the top light. Do not let the gradient flatten the silhouette: slabs, stairs, trim and shadows still need to show the shape of the build.
For floors and interiors, use shorter, quieter transitions. A strong block gradient can compete with furniture, storage and lighting when it covers the entire room. Keep the main walking field calm, then use the transition around borders, work areas, fireplaces, pillars or entrances.
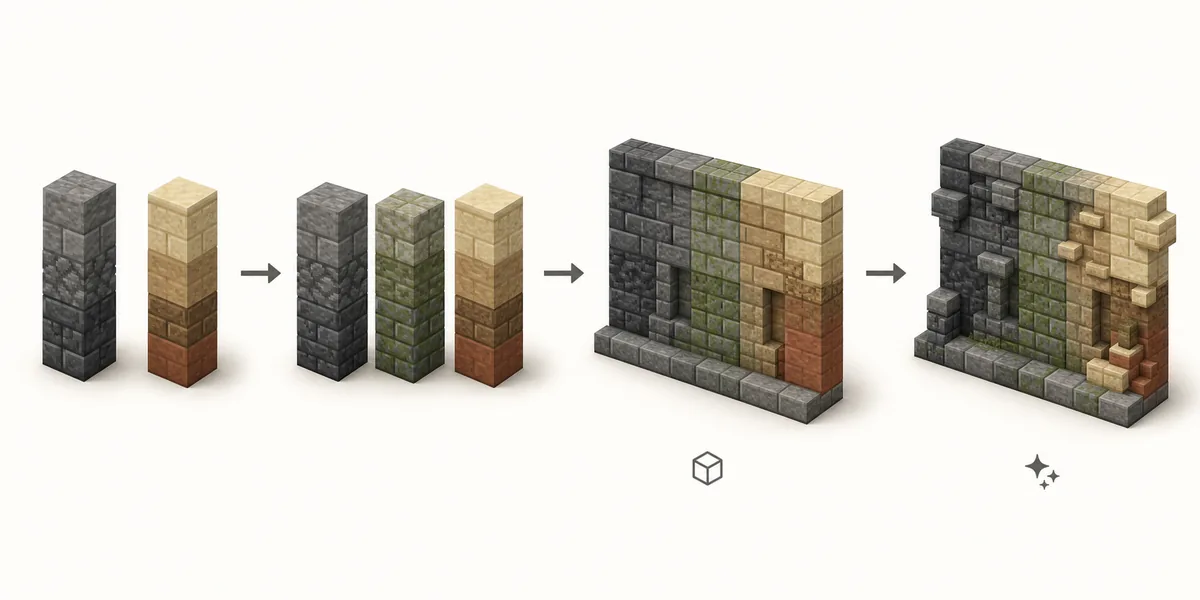
Walls and cliffs
Follow height, shadow and damage. Keep the main field readable, then darken or roughen foundations and recesses.
Paths and terrain
Keep the route clear in the center and let grass, dirt, gravel, moss or mud blend the shoulders into the biome.
Roofs and towers
Use value changes to show eaves, ridges and vertical depth without hiding the silhouette.
Floors and interiors
Use a short low-contrast sequence around borders and work areas so the room remains easy to read.
Survival-Friendly Minecraft Block Gradients
In survival mode, begin with blocks you can collect in bulk and replace rare materials only at focal points. Dirt, coarse dirt, gravel, cobblestone, stone, wood planks, moss and common stone variants can carry a useful gradient without requiring a large shopping list. A practical palette is easier to finish than a perfect palette that depends on one scarce block.
Build a small sample before committing to a whole wall or road. Count the blocks in one repeatable section, check the sequence under daylight and torchlight, and decide which accents are worth the cost. If a block is difficult to gather, use it around the entrance, bridge, doorway or roof ridge where a small amount has more visual value.
Survival builds also change as the world develops. Keep the endpoint idea and transition logic, but allow substitutions when your biome or storage limits change. The goal is a coherent Minecraft block gradient that you can actually build, repair and expand.
Common Minecraft Block Gradient Mistakes
Starting with every block you like
Collecting attractive blocks first often creates a palette with no direction. Pick the build job and endpoints before adding options.
Changing color and texture at the same time
A bright hue shift plus a noisy texture can feel abrupt. Let one variable move first, then add a controlled accent.
Using the strongest block everywhere
Quartz, copper, glazed terracotta, blackstone and rare decorative blocks work better as landmarks than as the entire field.
Repeating perfect stripes
Exact bands can flatten natural terrain and make a wall look tiled. Repeat the palette logic with varied clusters instead.
Skipping the real viewing distance
A sequence that looks interesting up close may disappear or become muddy from the path, street or opposite hill where players actually see it.
Minecraft Block Gradient FAQ
What is a Minecraft block gradient?
It is a planned sequence of blocks that moves between two visual endpoints, such as grass to stone or light stone to deepslate. The sequence uses color, brightness, texture and material style to make a surface feel connected.
How many blocks should a Minecraft block gradient use?
Three to five blocks usually work for a small wall, path edge or interior detail. A large wall, cliff or long roof can use five to seven blocks, but more blocks do not automatically make the transition smoother.
What block is good between dirt and grass in Minecraft?
Coarse dirt and rooted dirt are useful middle steps between grass and ordinary dirt. Mud can work near water or worn ground, while gravel and stone can extend the gradient toward a road or wall. Test the sequence in the biome where it will be used.
Why does my block gradient look noisy?
The palette may be changing color, brightness and texture too quickly, or the strongest accent may be repeated too often. Remove one high-contrast block, make the middle steps calmer and test the sequence from the real viewing distance.
Is a block gradient the same as a Minecraft color palette?
They are related but not identical. A color palette is the set of blocks that belong together; a gradient is the order and placement used to move between parts of the build. Start with a palette, then choose a gradient direction.
Can I use the Minecraft Gradient Generator for this guide?
Yes. The homepage tool is useful for comparing candidate endpoints and block sequences. Use its result as a starting palette, then adjust it for build scale, lighting, biome, texture and the materials available in survival mode.
Compare the Blocks Before You Build
Use the Minecraft Gradient Generator as a starting point, then apply the scale, texture and placement rules from this guide to your actual build.
Use the Minecraft Gradient Generator