Quick Answer: A Reliable Minecraft House Design Method
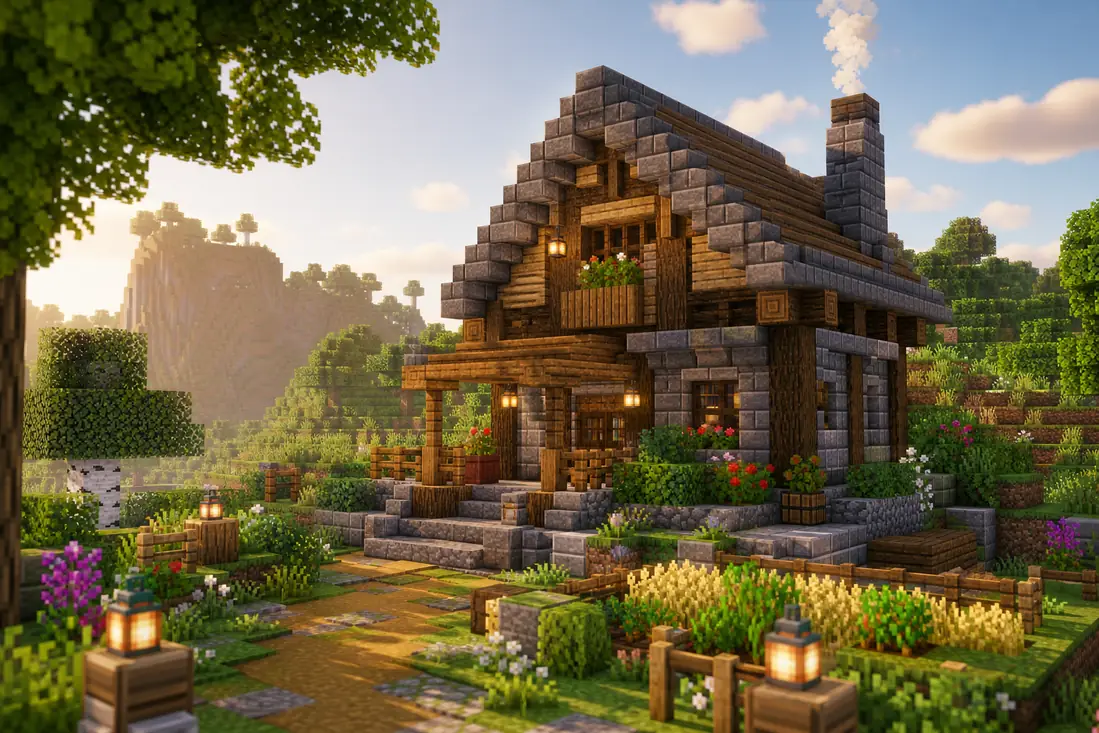
A good Minecraft house design begins with a footprint and a route, not a finished facade. Mark the entrance, decide where the player will walk, reserve space for storage and crafting, then build the roofline around that plan. This keeps the house attractive without making it awkward to use.
For a manageable first build, try a 9- to 13-block-wide main room, a 7- to 11-block-deep footprint and a wall height of 5 to 7 blocks before the roof starts. Add a porch or side wing only after the main silhouette reads clearly from the path. The exact numbers can change, but a visible hierarchy makes a small house feel intentional.
Keep the main palette to two material families plus one accent. A stone or deepslate foundation, a wood frame and one roof material create enough contrast for depth. Use the Minecraft Gradient Generator to compare nearby blocks, then place darker variants at the base, corners and sheltered areas instead of scattering them evenly.
Fast house-planning recipe
- Choose a site that gives the front door a useful approach and a readable backdrop.
- Mark the outer footprint, entrance, stairs and one central route before building walls.
- Place the main room, bedroom, storage and workshop as connected spaces.
- Test one wall bay with windows, supports, a roof edge and a foundation gradient.
- Repeat the tested module, then add a porch, balcony, garden or side wing.
- Finish with lighting and landscaping only after the roof and circulation work.
Why Good Minecraft House Designs Read Clearly
Players recognize a house through a few strong signals: a clear entrance, a roof that belongs to the footprint, windows placed at a believable rhythm and a foundation that separates the building from the terrain. If every wall, window and roof section is equally loud, the build loses its focal point.
Proportion matters more than decoration. A narrow house with an oversized roof can look top-heavy, while a wide box with a flat roof often feels unfinished. Use a taller central gable, a lower side wing or a porch to create a simple hierarchy that remains readable from the road or village path.
Check exact vanilla block names and variants in the Minecraft Wiki block reference before turning a palette into a survival material list.
Depth keeps a house from looking like a painted wall. Recess windows by one block, project the foundation, step the roof edge outward and use logs or stairs to frame the door. These small offsets create shadows that do more work than adding many unrelated blocks.
Treat the path, front yard and side elevation as part of the design. The front view may be the hero, but players approach from different angles. A back door, a small service yard or a visible chimney can make the structure feel connected to daily use rather than built only for one screenshot.
Compare warm, cool and neutral block families with the Minecraft color palette guide before locking the house materials.
Minecraft House Block Palettes and Gradients
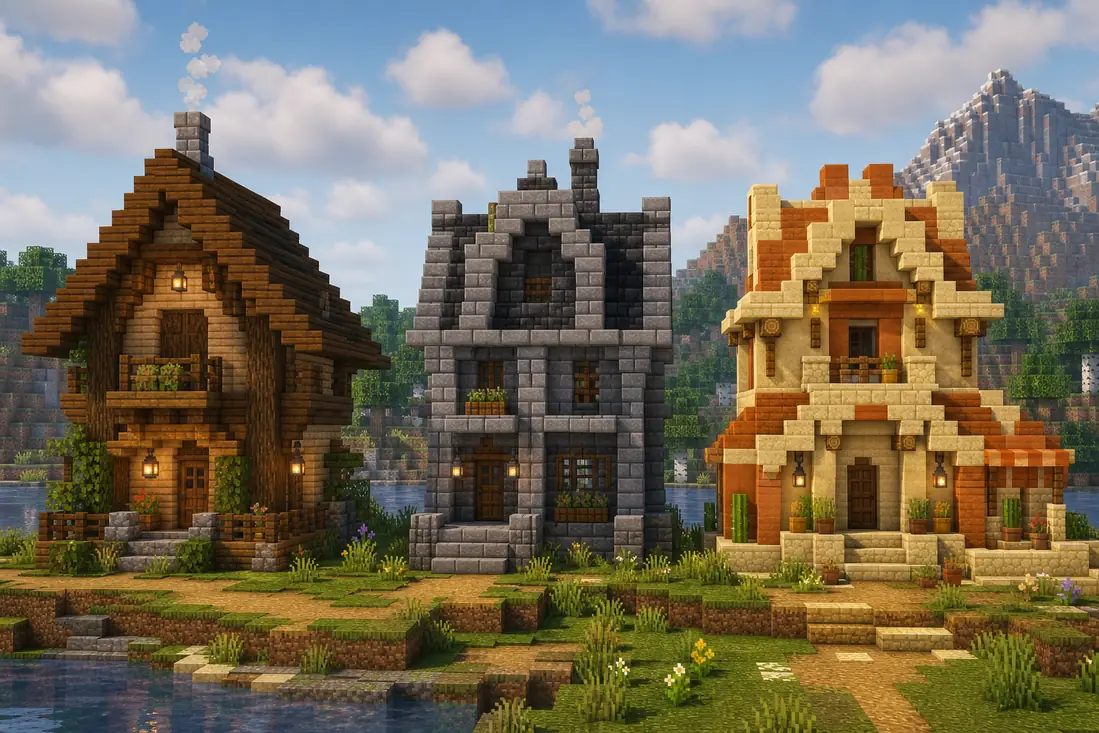
Choose a palette that matches the biome, roof shape and amount of detail you want to maintain. Each sequence below is a starting point; cluster transitions around foundations, corners, windows and weathered areas instead of making perfect stripes.
| House Style | Block Palette | Best Placement |
|---|---|---|
| Warm spruce cabin | cobblestone -> spruce planks -> stripped spruce -> dark oak | Use cobblestone at the foundation, spruce for the wall field and darker wood under eaves, corners and the porch. |
| Oak cottage | stone bricks -> oak planks -> stripped oak -> mossy cobblestone | Keep the main walls bright, then use moss near gardens, shaded steps and damp terrain rather than everywhere. |
| Dark forest house | deepslate bricks -> tuff -> spruce -> dark oak | Let deepslate anchor the base and chimney while spruce keeps the upper walls readable against dense trees. |
| Mountain lodge | cobbled deepslate -> stone -> spruce -> calcite accent | Blend the lower wall into the cliff, use wood above the snow line and reserve the light accent for windows or gables. |
| Desert home | sandstone -> smooth sandstone -> cut sandstone -> terracotta | Use smooth blocks on the main wall, cut variants around openings and terracotta beneath roofs or as a restrained accent. |
| Coastal house | stone bricks -> birch -> spruce -> prismarine accent | Keep the foundation heavy near water, brighten the wall field and place the accent on shutters, trim or a small dock. |
Plan the House Footprint, Rooms and Circulation
Start with temporary blocks on the ground. Mark the front door, the main room, stairs, bedroom, storage, workshop and any porch before raising the walls. Walk the route from the path to the door, then from the door to the useful rooms. If the route feels cramped now, furniture and decoration will only make it worse.
A simple rectangle is easy to build, but an L-shaped footprint often gives a small house a stronger silhouette. Put the public room and entrance in the taller section, then attach a lower kitchen, storage wing or covered workshop. Keep the corners readable so the roof can step down instead of becoming one oversized slab.
Give every larger space a job. A bedroom needs a quiet wall, storage should sit near the entrance or workshop, and stairs should not block the main sight line. Windows can then respond to rooms: large openings for living spaces, smaller windows for storage and vertical openings beneath a gable.
Build the Minecraft House in a Stable Order
First build the foundation and one complete wall-and-roof module. The module should prove wall thickness, window spacing, door scale, roof pitch and the relationship between wood and stone. Fixing one module is much faster than rebuilding a fully decorated house.
Next raise the main walls and roof before adding side wings. Stand on the path and view the build from the front, side and rear. If the roof hides the windows or the entrance feels too small, adjust the mass now. A strong silhouette is difficult to rescue with trapdoors and flower pots later.
Add the gradient after the large forms work. Put darker blocks under the foundation, behind porches and around chimney recesses; keep transitions irregular but purposeful. Place windows, shutters, stairs and beams in repeated rhythms so the house feels built rather than randomly decorated.
Finish with interior storage, lighting, paths, fencing, crops and landscaping. Detail should support movement: lanterns should mark routes, a porch should frame the entrance and a garden should connect the house to the surrounding terrain.
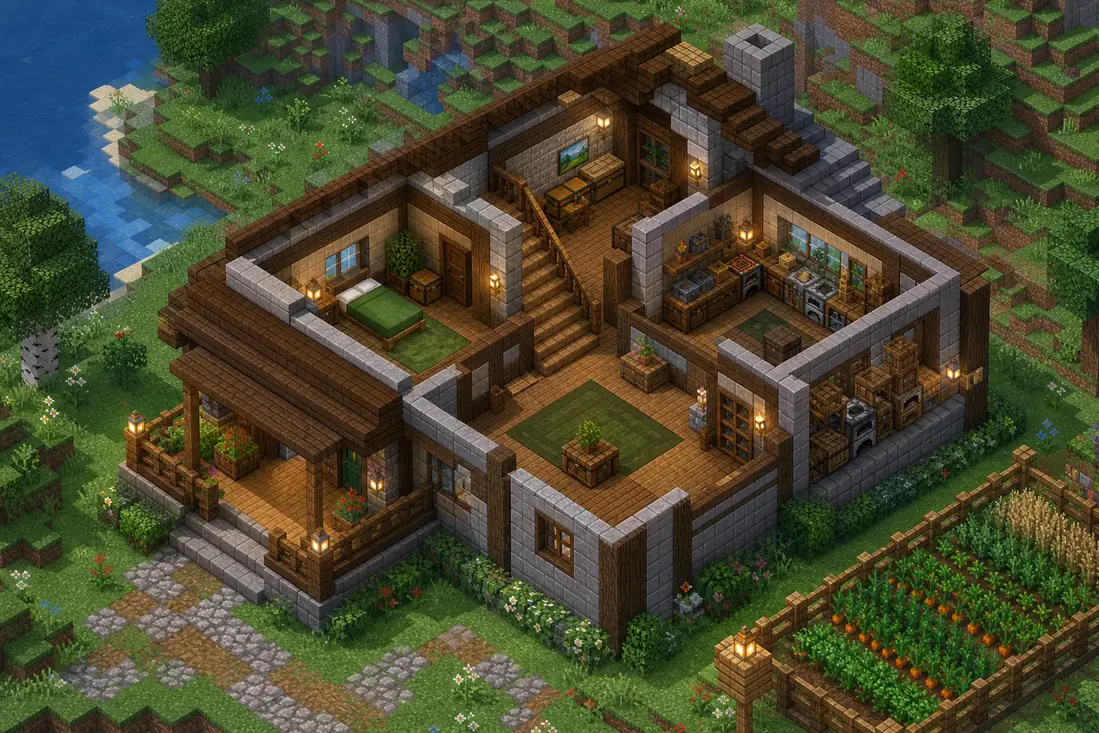
Primary mass
The main room, entrance and roof establish the silhouette before decoration begins.
Repeatable module
A tested wall bay controls windows, supports, trim and the block-gradient rhythm.
Useful connection
Porches, stairs, paths, storage and gardens turn the house into a practical base.
Make the Minecraft House Build Survival-Friendly
Estimate materials by modules instead of guessing the entire house. Count one wall bay, one roof section and one floor, then multiply by the number of repeats. Add extra stairs, slabs, fences and replacement blocks because roofs and trim usually consume more materials than expected.
Use common blocks for the main mass: stone, cobblestone, stone bricks, tuff, spruce, oak and dark oak are easier to gather at scale than quartz, calcite or prismarine. Reserve expensive blocks for the doorway, roof ridge, windows, chimney and other focal points.
Make the first floor useful early. Put beds, storage, furnaces, crafting and safe lighting inside the main room before finishing distant landscaping. A house that supports the player's routine can grow in stages without becoming an abandoned shell.
Common Minecraft House Design Mistakes
Starting with a facade
A pretty front wall cannot fix a footprint with no usable rooms. Mark the route and room jobs before decorating.
Making every wall the same height
A taller central mass, lower wing or porch creates hierarchy and lets the roof step down naturally.
Using random block noise
Equal scattering makes the palette look accidental. Cluster darker or weathered blocks where structure, moisture or shadow explains them.
Making the roof too large
A roof should protect and frame the walls. If it dominates the footprint, lower the pitch or widen the walls before adding detail.
Ignoring the approach
A house needs a readable path, stairs, lighting and a front yard. Design the arrival experience together with the building.
Minecraft House Design FAQ
What is a good Minecraft house size for beginners?
A main footprint around 9 to 13 blocks wide and 7 to 11 blocks deep is large enough for useful rooms without becoming difficult to finish. Mark the route and roof before committing to the final size.
What blocks are best for a Minecraft house?
Stone, cobblestone, stone bricks, tuff, spruce, oak and dark oak form reliable house palettes. Use deepslate, sandstone, terracotta or prismarine as controlled accents that match the biome.
How tall should a Minecraft house be?
A wall height of 5 to 7 blocks works for many small houses, with a taller central gable or second floor creating hierarchy. Keep the roof proportionate to the footprint so it does not overwhelm the walls.
How do I make a Minecraft house look less like a box?
Project the foundation, recess windows, add a porch or side wing, vary the roofline and use beams or stairs for depth. A clear silhouette and repeated details work better than random decoration.
How do I plan a Minecraft house for survival?
Use common blocks for the main mass, estimate materials by repeated modules, place storage and crafting early, and reserve expensive blocks for the entrance, roof ridge, windows and other focal points.
Test Your House Palette Before Building
Compare nearby stone, tuff, deepslate, wood, sandstone and accent blocks before repeating a palette across the walls and roof.
Use the Minecraft Gradient Generator