Quick Answer: How to Plan a Minecraft Interior
The most reliable Minecraft interior design starts with function, not decoration. Decide where the player enters, where they walk, what they need to reach every day and which view should become the room's focal point. Then choose a main material, a softer transition material and a small accent color. This keeps a house interior readable even when the build uses many small details.
For a practical house, plan the interior in layers: a clear path first, useful stations second, storage near the stations, and decoration around the remaining empty spaces. A living room can frame a fireplace or window, while a storage room should favor labeled-by-shape sections, aisle space and quick access. The best Minecraft room ideas are attractive because they also remove friction from normal play.
A simple starting ratio is 60/30/10: use the main wall or floor family for most surfaces, transition blocks for trim and depth, and strong accents for lamps, banners, plants or one feature wall. Test the palette and the walking route in a small room before repeating it across a full base.
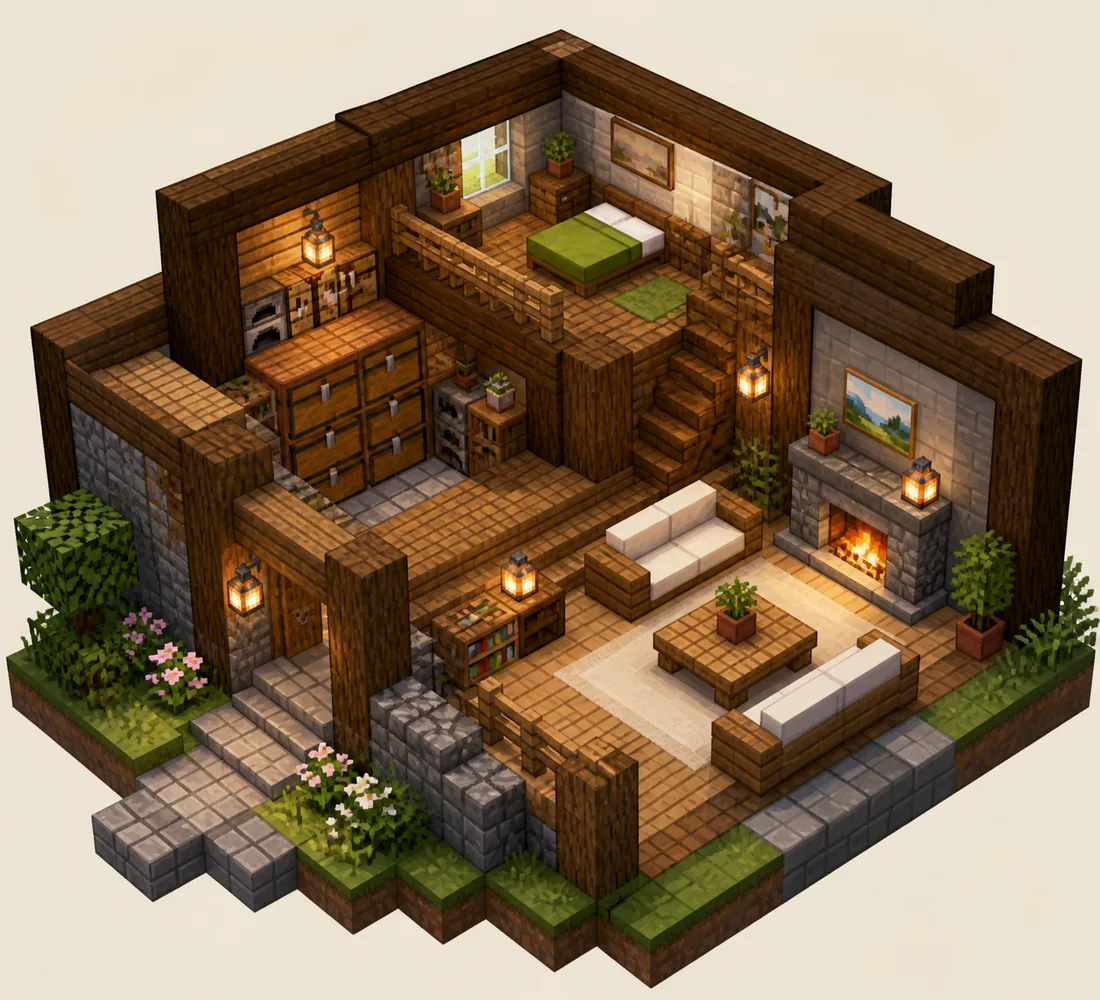
A fast interior design recipe
- Choose the room's job before choosing decorative blocks.
- Reserve a two-block-wide path through the most-used spaces.
- Pick one main material, one transition material and one accent family.
- Use three lighting layers: ceiling, wall and task lighting.
- Keep storage close to crafting, smelting, farming or enchanting stations.
- Build a small test room before copying the layout into a large house.
Why Minecraft Interior Design Looks Finished or Crowded
Good Minecraft interior design is mostly about hierarchy. The floor establishes direction, the walls define the room's material family, furniture creates scale, and lighting tells the eye where to look. If every surface has the same contrast, the room becomes noisy. If every surface is plain, the room feels unfinished. A useful interior gives each block a job.
Scale matters more than the number of decorations. A two-block-wide room cannot comfortably hold a large sofa, a staircase, a chest wall and a workstation at the same time. In a small house, combine functions: use trapdoors as cabinet fronts, stairs as seating, barrels under counters and shelves above a workbench. In a larger base, separate noisy utility areas from calm living spaces.
For block names and material properties, use the community-maintained Minecraft block reference when checking a survival material list.
Lighting is also part of the material palette. Warm lanterns make wood and copper feel comfortable, while hidden light under slabs or behind trapdoors keeps a floor from looking dotted with torches. Use brighter task lighting near crafting and farming stations, then quieter light around bedrooms, libraries and hallways.
Before copying a design, walk through it in first person. Check door swings, stair headroom, chest access, sightlines and whether a decorative block blocks a real interaction. A beautiful room that slows down every routine will quickly become a room you avoid.
Once the room's material family is clear, test adjacent blocks with the Minecraft Gradient Generator before committing the wall, floor or stair transition.
12 Minecraft Interior Design Ideas by Room and Function
Use these ideas as layout starting points rather than fixed blueprints. Swap blocks for the biome, resource level and build style of your world.
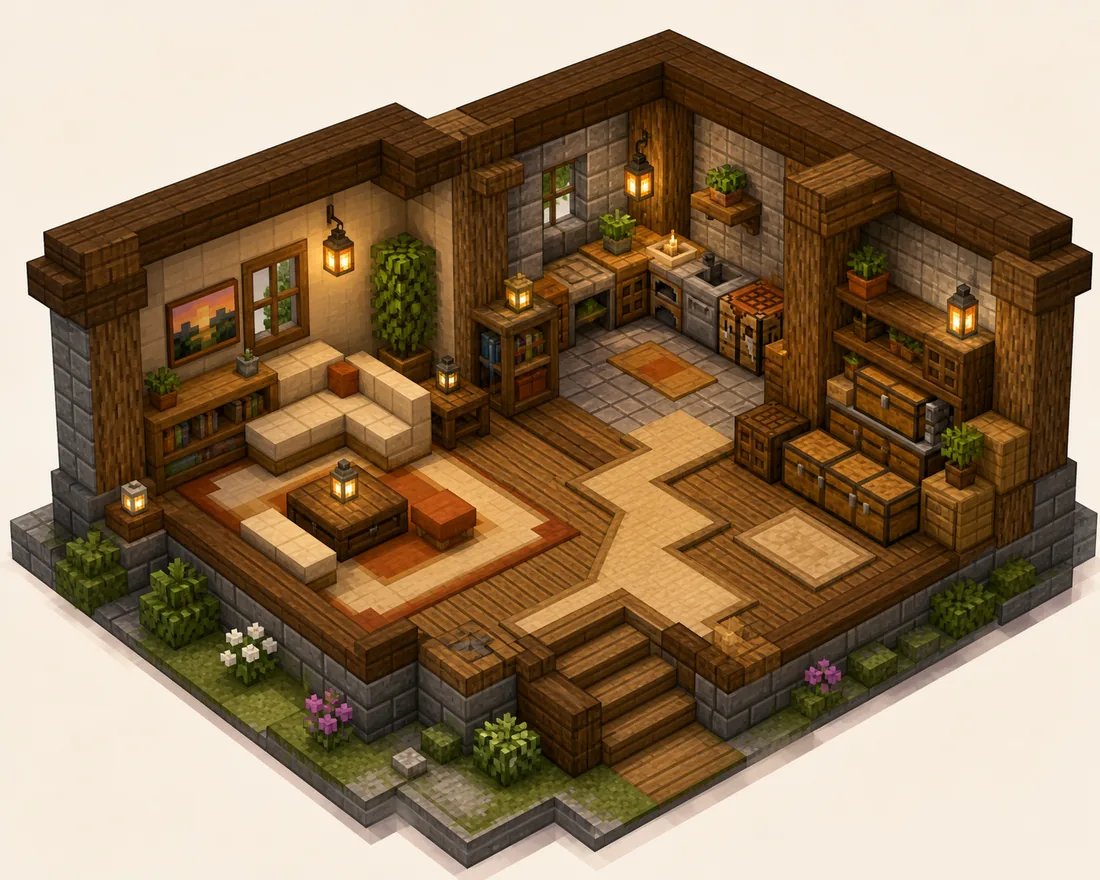
| Room or idea | Block and furniture recipe | Placement advice |
|---|---|---|
| Entry hall | stone trim -> wood floor -> lanterns -> coat hooks | Keep the first view simple; frame a doorway, staircase or window instead of filling the entrance with storage. |
| Cozy living room | spruce stairs -> slabs -> fireplace -> bookshelves | Face seating toward one focal point and leave a clear path behind or beside it. |
| Kitchen corner | barrels -> trapdoors -> smokers -> hanging lights | Build counters at one height and group food storage beside cooking stations. |
| Bedroom | bed -> carpet -> side tables -> window | Use a quieter palette; put the bed away from the main corridor and keep both sides reachable when possible. |
| Storage wall | chests -> barrels -> signs or item frames -> stone trim | Repeat a vertical rhythm, leave an aisle, and keep the most-used categories at eye level. |
| Enchanting room | bookshelves -> dark wood -> candles -> amethyst accent | Reserve the center for the enchanting table and use a low-contrast background so the shelves read as a frame. |
| Brewing station | nether brick -> cauldrons -> barrels -> redstone lamps | Place water, bottles and ingredients within one short loop instead of scattering them across the base. |
| Display wall | stone or wood backing -> item frames -> banners -> one bright accent | Use display blocks sparingly; a single organized collection is clearer than a full wall of unrelated items. |
| Stair landing | stairs -> trapdoors -> fence rails -> wall lights | Treat the landing as a pause in the route. Add headroom and light the turn before adding decoration. |
| Underground base | deepslate -> tuff -> wood -> moss or copper | Blend the carved room into the cave with a controlled stone gradient, then use wood to mark occupied areas. |
| Tower interior | spiral stairs -> beams -> narrow windows -> banners | Keep the center open for circulation and place utility rooms on alternating levels rather than blocking the shaft. |
| Farm and work zone | mud or stone floor -> workstations -> water channel -> warm lighting | Separate wet, noisy and redstone-heavy areas from sleeping or decorative rooms with a visual threshold. |
Room-by-Room Placement: Make Interior Ideas Buildable
Start with the route that a player will actually take. Mark the entrance, the central turn and the destination with temporary blocks. If the route works before decoration, the finished room will feel intentional. If you decorate first, furniture tends to close the path and force awkward jumps around useful stations.
For small rooms, use vertical storage and wall-mounted details. Shelves, trapdoors, signs, lanterns and banners add character without consuming the floor. Keep the floor mostly open so the room can still accept a bed, crafting table, furnace or chest when your survival needs change.
For large rooms, create smaller zones with rugs, beams, half walls, ceiling changes or lighting rather than building solid partitions everywhere. A living area, work area and display area can share one hall while still reading as separate spaces.
Layout, Lighting and Scale Rules for Minecraft Interiors
A strong interior has a visual rhythm: repeated beams or shelves create structure, one contrasting material creates a transition, and a few irregular details stop the space from looking copied. Match the rhythm to the room. A storage wall can be highly regular; a cave lounge can be more uneven.
Use light to guide movement. Put a brighter source at entrances, stairs, workstations and corners where mobs or shadows would make navigation difficult. Hide secondary light under slabs, behind trapdoors or inside ceiling beams when a clean floor is more important than showing every lamp.
When a room feels cramped, remove decoration before enlarging the entire house. A one-block shift can improve the route, move a chest to a wall or give a staircase enough headroom. Good Minecraft interior design often comes from deleting one unnecessary object rather than adding five new ones.
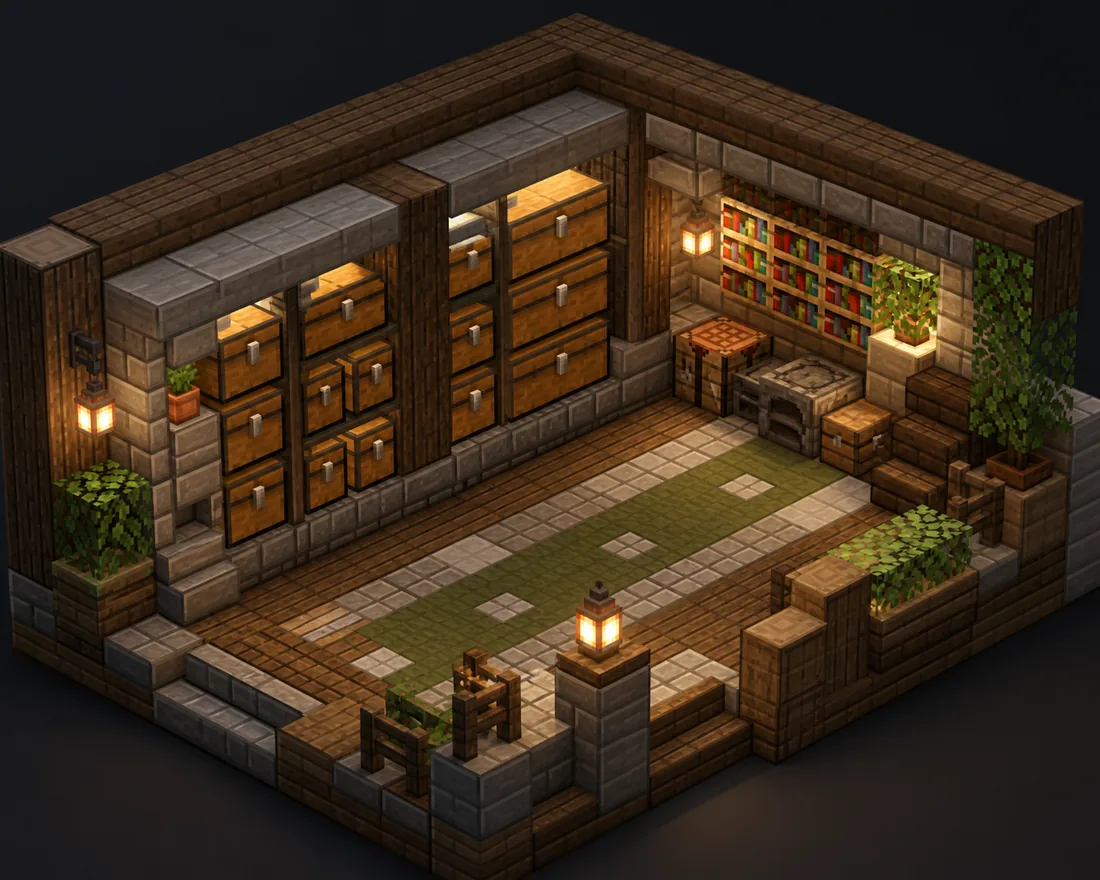
Use the floor for direction
A subtle floor border, carpet strip or block change can point from the entrance to the room's main function.
Give walls a job
Reserve one wall for storage, one for a focal feature and one for windows or circulation so every surface does not compete.
Keep furniture proportional
Stairs, slabs, trapdoors and signs can suggest furniture, but leave enough empty space for the player to move naturally.
Layer the light
Combine visible lanterns with hidden light so rooms feel warm without a regular grid of torches.
Preview the room in motion
Walk, open containers, use workstations and look back toward the entrance before calling the design finished.
Survival-Friendly Minecraft Interior Choices
A survival interior should be easy to repair and expand. Use common blocks for the main structure, reserve rare materials for small accents, and avoid hiding every useful station behind fragile decoration. If a room will change as the world develops, leave one wall or corner intentionally modular.
Keep a material budget for lighting, doors, trapdoors, signs and storage. These small items often determine whether an interior feels usable. In early survival, slabs, stairs, fences, barrels and lanterns can create a convincing room before you have access to large quantities of quartz, copper or rare woods.
For underground or night-time bases, test the room after dark. A build can look balanced in daylight but leave dark corners around stairs, behind storage or under a mezzanine. Fix those areas with layered light rather than covering the whole floor with torches.
Common Minecraft Interior Design Mistakes
Filling every block of floor
Furniture needs breathing room. Leave a route and a few empty sightlines so the room can be understood at a glance.
Using too many accent materials
Choose one or two strong accents. If every shelf, trim piece and lamp has a different color, the interior loses hierarchy.
Treating lighting as an afterthought
Place the main light sources while planning the room, then hide or soften secondary lights after the route is safe.
Making storage decorative but inconvenient
A chest wall should still open, sort and expand. Keep the most-used categories close to the main work loop.
Copying an exterior palette indoors
Interior walls usually need lower contrast and warmer detail than an exposed exterior. Rebalance the palette for close viewing.
Minecraft Interior Design FAQ
How do I start a Minecraft interior design?
Start with the room's job and the player's route. Mark the entrance, the main station and the storage area with temporary blocks, then choose a material family and add decoration only after the route works.
What is a good room size for a Minecraft house?
A small functional room can work at about 5 by 5 blocks, while a comfortable shared room often needs 7 by 7 or more. Choose the size from the stations and walking space you need rather than a fixed blueprint.
How can I make a small Minecraft interior feel bigger?
Use vertical storage, lighter walls, one clear floor direction, fewer large furniture shapes and windows or sightlines toward another room. Removing clutter usually helps more than adding detail.
Which blocks work well for Minecraft interior walls?
Wood, stone, terracotta, bricks, deepslate, tuff and concrete can all work when their brightness and texture are controlled. Pick a main family, use one transition material and reserve high-contrast blocks for focal areas.
How do I design a storage room that still looks good?
Repeat chest or barrel modules, keep an aisle at least two blocks wide when possible, place frequent-use categories near the entrance and frame the wall with a quieter trim. Organization becomes part of the pattern.
Can I use a block gradient inside a house?
Yes. Use a short, low-contrast gradient for a wall, floor border, staircase or cave transition. Test the sequence in the room's actual lighting so the transition supports the interior instead of becoming the only thing people notice.
Turn Your Interior Palette Into a Smoother Build
Choose the main and ending blocks for a wall, floor or stair transition, then test the sequence before placing it across the room.
Open the Minecraft Gradient Generator