Quick Answer: Pick a Starter House That Uses Your Biome
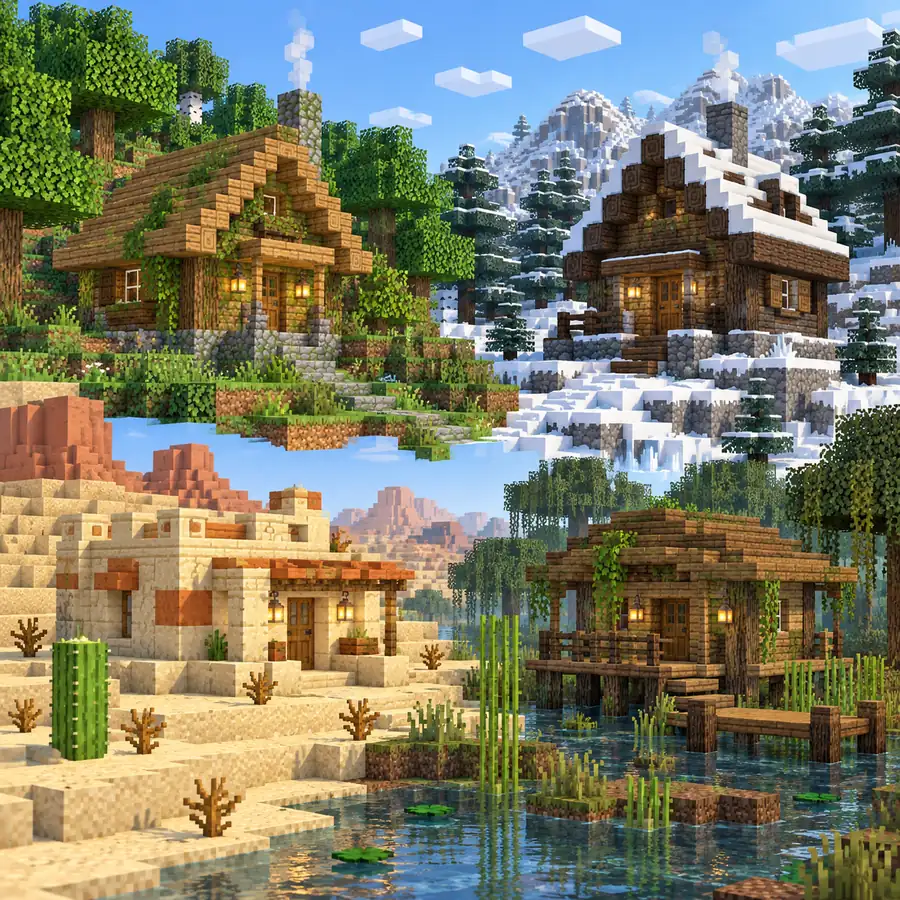
A useful Minecraft starter house is small, easy to light, and built from blocks near your first base. Let the terrain guide its shape: use shade in a desert, a raised floor by wet ground, a steep roof where snow gathers, or a timber cabin in a forest. Local materials help a modest build fit without adding extra size. This guide compares Minecraft starter house ideas by biome so you can adapt a compact shell to the blocks around spawn.
Start with a footprint near 7 by 9 blocks. Fit a bed, crafting table, furnace, chest and safe entrance before adding decoration. If the palette is limited, use one common wall block, a contrasting roof and a small trim accent.
These Minecraft starter house ideas by biome are concept plans, not fixed recipes or screenshots. Substitute scarce materials and leave one side open for a later room or farm connection.
Fast starter-house checklist
- Choose a safe, mostly level spot near useful resources.
- Mark a 7-by-9 or 9-by-11 footprint before building walls.
- Use blocks found in or near the selected biome.
- Fit a bed, crafting table, furnace and starter storage first.
- Light the entrance, roof edge and nearby approach.
- Keep the roof shape distinct from the surrounding terrain.
- Reserve one wall or side yard for future expansion.
- Test the palette in a short strip before gathering a full stack.
Why Biome-Fit Starter Houses Look More Natural
A house reads as part of its landscape when its base, roof and approach respond to the ground around it. A low cabin can disappear beneath tall spruce, while a raised platform can keep a wetland entrance clear. The goal is not to copy every local color. It is to make the shelter look as if a player could build and maintain it with the nearby materials.
Biome clues help with practical choices too. A steep roof creates a clear silhouette in a snowy setting; a shaded veranda gives a hot, dry build a useful covered edge; and a raised floor makes the waterline visible around a mangrove hut. These are design choices, not special biome mechanics, so they work as visual planning ideas across worlds.
Minecraft's biome and block references are useful when checking names and natural materials before you start. Treat the in-game world and your own edition as the final check, because world settings and resource packs can change what is nearby or how a palette appears.
For block and biome names, consult the community-maintained Minecraft Wiki biome reference and verify local availability in your own world.
Keep the first shelter easy to navigate: one entrance, one main room and a clear route to storage are more useful on day one than a complex floor plan. Add a workshop or cellar later when needed.
This guide covers small first shelters by biome. The broader house guide explains room layouts and construction order.
If you want a broader plan for footprint, rooms and construction order, read the Minecraft house design guide before expanding a starter shelter into a permanent home.
8 Minecraft Starter House Ideas by Biome
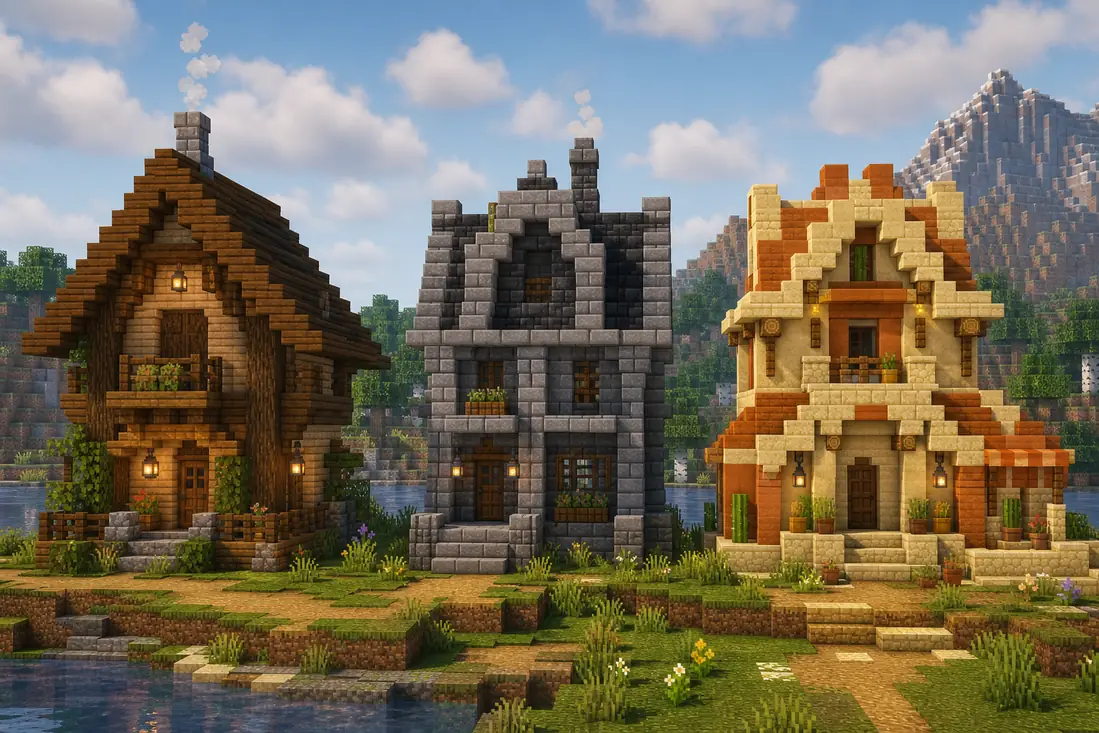
Treat the Minecraft starter house ideas by biome in this table as flexible starting points. Footprints are approximate, not required dimensions; adjust them for terrain, storage needs and the blocks you actually have.
| Biome setting | Starter-house concept | Useful blocks | Approximate footprint |
|---|---|---|---|
| Forest or plains | Simple timber cottage | Oak or spruce logs, planks and cobblestone. | 7 x 9 blocks |
| Taiga | Steep-roof spruce cabin | Spruce logs, planks and stone trim. | 7 x 9 blocks |
| Snowy area | Compact stone-and-wood lodge | Spruce, stone and a sharply stepped roof. | 9 x 9 blocks |
| Desert | Shaded sandstone room | Sandstone, cut sandstone and wood accents. | 9 x 9 blocks |
| Savanna | Open-sided acacia shelter | Acacia, stone and a small shaded porch. | 7 x 9 blocks |
| Jungle | Raised canopy hut | Jungle wood, planks and fences. | 7 x 7 blocks |
| Swamp or mangrove | Stilted waterside hut | Logs, planks and a short boardwalk. | 7 x 9 blocks |
| Badlands | Terracotta ridge cabin | Terracotta, wood and a stone foundation. | 7 x 9 blocks |
Plan the Footprint Before Adding Rooms
Mark footprint corners with temporary blocks and walk the outline before spending materials. Keep the door on level ground. On a slope, raise the low edge or step the foundation instead of flattening the site.
Place the bed away from the door, then group the crafting table, furnace and first chest along one clear route. A small loft or side room is easier to add later than an empty floor built before you need it.
Connect the house to water, trees or a mine with a simple path. Leave a small yard for crops or pens, and keep the entrance visible and lit.
Place the Starter House So It Fits the Terrain
Choose safety and access before the view. Nearby wood, stone and food save time; avoid a narrow ledge, drop or blocked doorway unless the design accounts for it.
Let the ground shape the outline. Set a forest cottage between trees, face a desert door toward a shaded courtyard, or give a snowy lodge a low stone foundation. Keep roof and wall values distinct from the terrain.
Test a short wall-and-roof sample from the path before gathering more blocks. If the materials blend together, add a narrow trim or darker foundation rather than another block family.
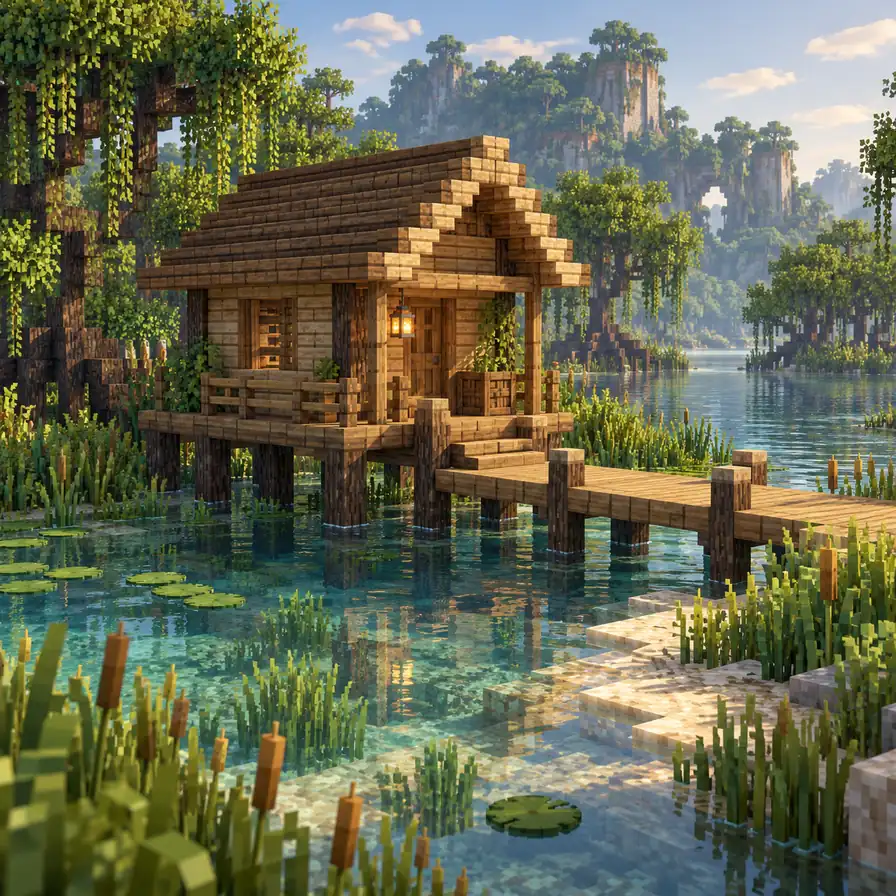
Forest
Keep the cottage low under the trees and use a short path to show the entrance.
Desert
Turn the door toward shade and leave room for a small courtyard wall.
Snow
Give the roof a stronger pitch and keep the doorway easy to spot.
Wetland
Raise the floor above the water edge and connect it with a short boardwalk.
Keep the Biome House Practical in Survival
Build the smallest complete room first: roof, door, light and bed before decorative beams or extra windows. Gather only enough blocks to finish that shell and leave no open gaps.
Use common materials on large surfaces and save rare blocks for trim. If a planned roof block is far away, substitute a nearby material with a similar value or texture.
Light the route from the door to storage or water. Add a step or landing wherever wet or uneven ground changes height, and leave room around the crafting area.
Keep one side open for an upgrade. A small wing can become a workshop, a basement can hold bulk storage, or a porch can connect to a farm without obscuring the first entrance.
Common Minecraft Starter House Mistakes
Building too large on the first day
A large empty shell costs time and leaves the useful stations scattered. Start with one complete room, then add a wing when storage or crafting actually needs it.
Using only the biome's dominant color
Matching every wall to the ground can make the house disappear. Separate foundation, wall and roof values so the silhouette remains clear from the approach.
Ignoring a slope or waterline
A flat footprint forced onto uneven terrain creates awkward gaps. Step the foundation or raise the floor where the landscape changes.
Gathering a rare palette before testing it
A long resource trip can be wasted if the blocks clash in the finished scale. Test a short wall-and-roof sample near the site first.
Decorating before the entrance is safe
Lighting, a clear path and a working door matter before banners or trim. Finish the useful approach before adding details.
Blocking future expansion
A farm, mine entrance or workshop may need more room later. Leave one open side or a small yard when you mark the first corners.
Minecraft Starter House by Biome FAQ
What is the best Minecraft starter house for survival?
A compact one-room shelter with a bed, crafting table, furnace, storage and safe lighting is a strong first base. Choose common nearby blocks and expand after the core room works.
How big should a Minecraft starter house be?
A footprint around 7 by 9 blocks can fit early stations without requiring a large material trip. Use 9 by 9 or 9 by 11 when the terrain is open or a small loft is part of the plan.
Which blocks should I use for a house in each biome?
Start with common local blocks such as oak or spruce in forests, sandstone in deserts, acacia in savannas, and wood or stone for raised wetland shelters. Substitute based on your actual world.
How do I make a starter house match a snowy biome?
Use a clearer roof pitch, a contrasting foundation and a visible entrance. Spruce and stone are practical palette starting points; test the colors beside the snow before building the full shell.
Should a starter house use rare blocks for decoration?
Usually not for the main shell. Keep common materials on large surfaces and use rarer blocks as small trim so repairs and expansion stay affordable in survival.
Can I expand a small biome starter house later?
Yes. Leave one side open for a workshop or storage wing, and connect it with a covered path or shared roof. Keeping the first entrance clear helps the original layout remain useful.
Test the House Palette Before You Build
Compare the wall and roof blocks as a short gradient, then adjust the sequence to match the biome and your available materials.
Open the Minecraft Gradient Generator