Quick Answer: How to Plan a Minecraft Mountain Base
The best Minecraft mountain base starts with the slope, not a finished facade. Walk around the mountain, mark a safe entrance and identify the best view, then test the main room, storage route and stairs with temporary blocks.
A compact base needs connected layers: an entrance and crafting hall, a quieter storage or bedroom level, and a terrace for crops, animals or trees. Keep stone, tuff and deepslate in the foundation, then use spruce, moss, snow or a lighter accent where the base meets open air.
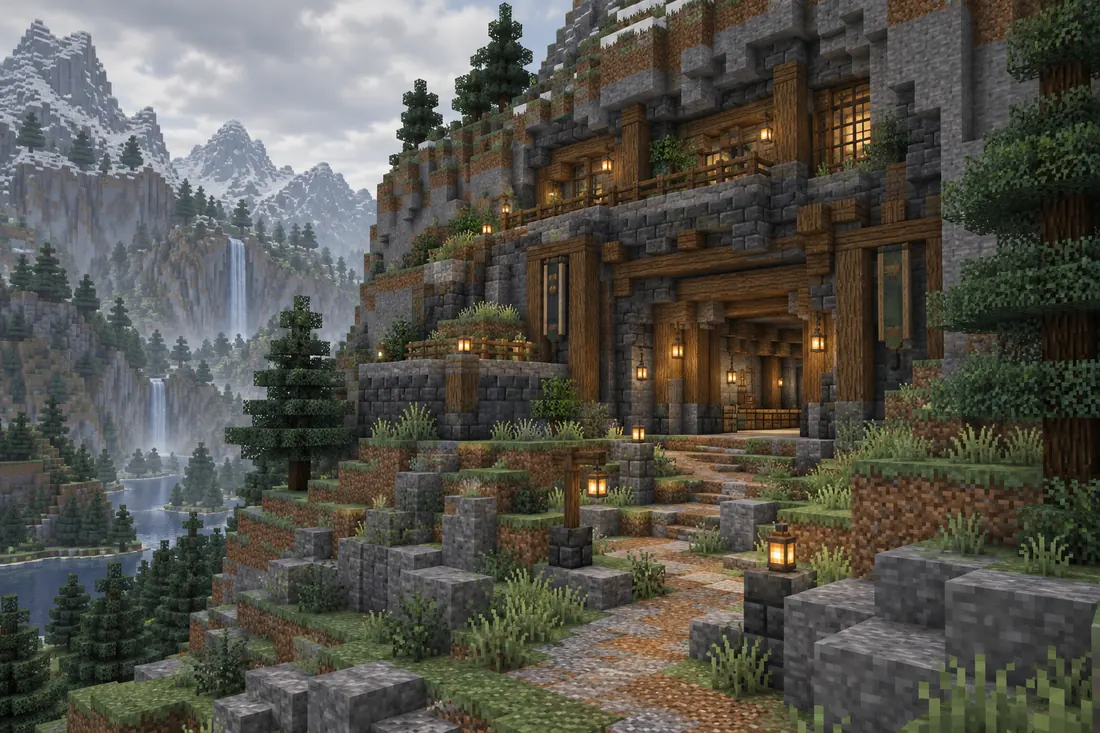
Fast Mountain Base Recipe
- Choose a mountain face with a safe approach and two usable height levels.
- Mark the entrance, hall, stairs and one expansion route before deep mining.
- Use stone or deepslate for structure and wood where players interact.
- Add a useful terrace for crops, trees, animals or a lookout.
- Light routes and doorways before adding vines, banners or small details.
- Test one room first, then repeat its ceiling and support rhythm.
Why Minecraft Mountain Bases Feel Built In
A mountain gives you height, natural walls and a strong silhouette, but also awkward corners and uneven floors. Use the rock as the rear wall, cut only the rooms you need and let terraces step down with the terrain instead of flattening the cliff.
Separate structure from scenery. Entrances, bridges, stairs and retaining walls need a repeatable block rhythm, while grass, leaves, snow, water and exposed stone can stay irregular around it.
For vanilla mountain terrain and block names, check the Minecraft mountain reference before choosing a location or making a survival material list.
Plan the view as carefully as the room: face windows, balconies and workshops toward the valley, and place storage, furnaces and redstone deeper inside. Stairs, paths and lantern posts should connect levels clearly. Terrain is part of this floor plan, so a layout that works on flat land may feel cramped inside a steep cliff.
If the rock colors need a smoother transition, compare nearby materials with the Minecraft Gradient Generator before placing a long retaining wall or entrance path.
12 Minecraft Mountain Base Palettes and Layout Ideas
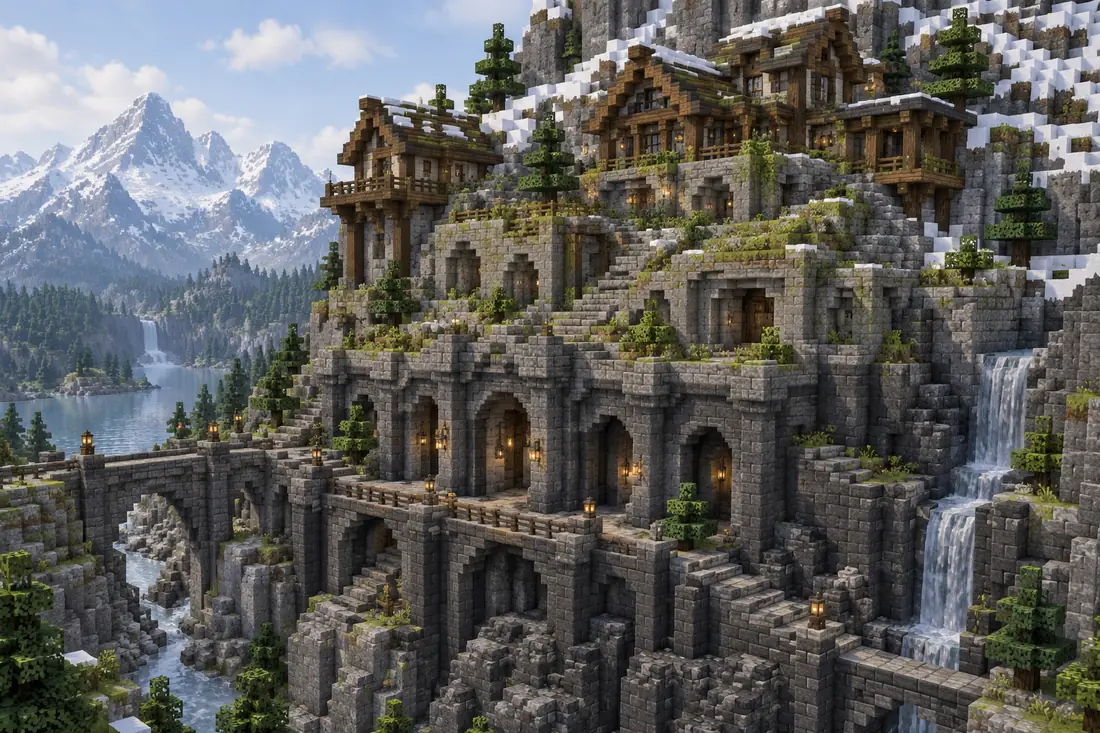
Use these Minecraft mountain base ideas as starting modules. Pick one structural family, one transition family and one accent, then adjust the sequence for the biome, height and amount of exposed rock.
| Base Style | Block Palette | Best Placement |
|---|---|---|
| Spruce mountainside lodge | stone -> tuff -> spruce planks -> stripped spruce -> lantern | Stone into the slope; spruce at the front; lanterns along the approach. |
| Compact starter cave base | cobblestone -> stone bricks -> oak planks -> barrels -> moss carpet | Let barrels, beds and workstations divide the first hall. |
| Deepslate cliff fortress | cobbled deepslate -> deepslate bricks -> tuff bricks -> spruce -> iron bars | Use dark blocks low, then warm windows and walkways with spruce. |
| Snowy mountain base | stone bricks -> calcite -> spruce -> dark oak -> snow layers | Light stone under snowy ledges; dark wood at doors and balconies. |
| Mountain farm terrace | cobblestone -> mossy cobblestone -> coarse dirt -> spruce fences -> grass | Retain crops with short walls and rough water-to-path transitions. |
| Hidden secret base | stone -> smooth stone -> spruce trapdoors -> deepslate -> tinted glass | Blend the entrance into the cliff and hide the interior behind it. |
| Mountain village house | stone bricks -> andesite -> oak -> spruce -> moss block | Join an upper house, lower storage room and valley path. |
| Waterfall workshop | tuff -> stone bricks -> spruce logs -> copper -> water | Place the workshop beside a controlled stream and tool area. |
| Cliffside bridge base | deepslate tiles -> stone -> dark oak -> chains -> lanterns | Make the bridge the public route and hide rooms behind the cliff. |
| Mountain library | calcite -> stone bricks -> spruce planks -> dark oak -> bookshelves | Face a bright reading room toward the view; store books deeper inside. |
| Mossy ruined base | cobblestone -> mossy stone bricks -> tuff -> dark oak -> vines | Cluster moss near water, shade and broken corners. |
| Modern mountain retreat | smooth stone -> quartz -> gray concrete -> spruce -> glass | Keep the view side clean and let the cliff supply irregularity. |
Choose the Mountain Layout Before You Decorate
A single-room cave is quick but hard to expand. Start with a short central corridor: crafting and smelting near the door, storage on the safest wall, and a bedroom above or behind the work area.
On broad slopes, give each terrace a job such as crops, animals, a public room or a technical level. On a tall peak, use a vertical stair spine with landings for the mine, hall, bedroom, lookout and roof garden.
Place the Entrance, Rooms and Mountain Paths
Start outside and walk from the valley, village, river or mine to the proposed door. Add a bridge, retaining wall, stairs or lantern line if the route is unclear, and fix unsafe darkness or weather exposure before decorating.
Cut the hall next, leaving extra rock around it. Furnaces, chests, stairs and villagers consume space quickly, so reserve a storage wall and a ceiling edge for lights, beams or another level.
Use windows and balconies where the mountain can support them. Give terraces a job—crops, trees, animals, fishing, maps or a lookout—and keep water bordered and paths wide enough for daily movement.
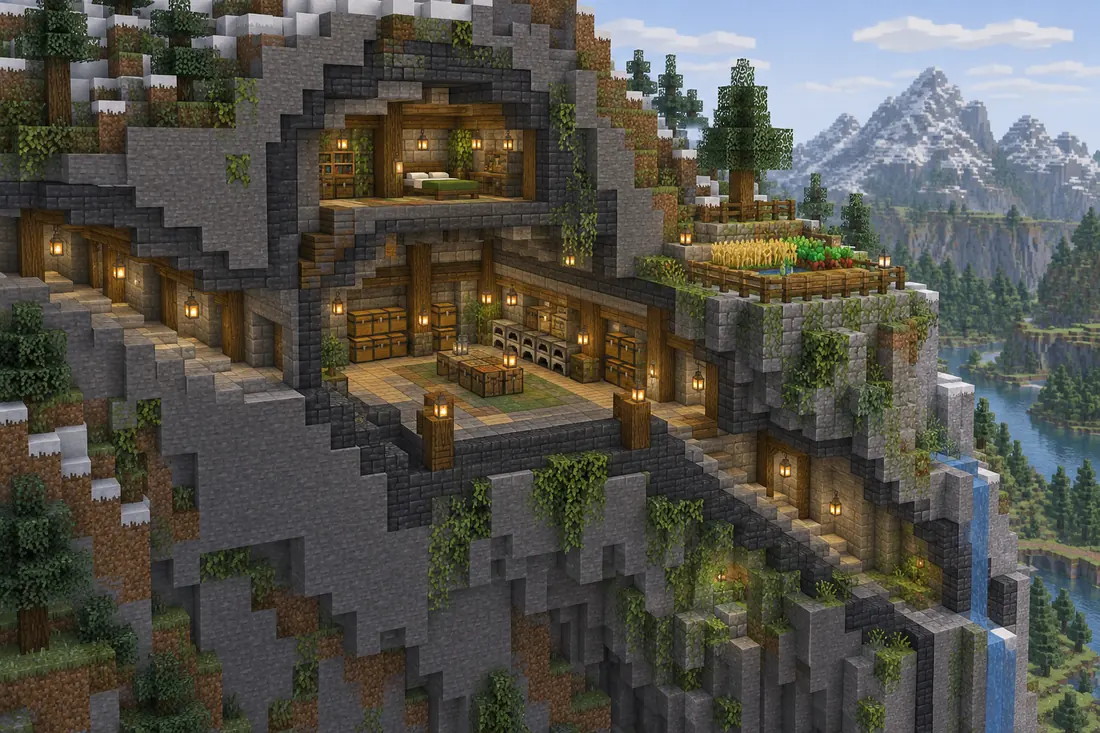
Approach
Path, bridge, stairs and lights that make the entrance readable.
Core rooms
Hall, storage, crafting, sleeping and technical spaces for daily use.
Terrace
An outdoor level for production, views or future expansion.
Make a Mountain Base Work in Survival
Excavate in stages. Finish one safe room, light the route and move the bed, chests and furnaces inside before opening the next chamber. This keeps the base useful while the larger design is unfinished.
Use common blocks for most walls—stone, cobblestone, andesite, tuff, dirt, spruce, oak and lanterns—and save quartz, calcite or copper for the entrance and focal rooms. Keep food, wood and fuel close with a small farm terrace or service path.
Common Minecraft Mountain Base Mistakes
Flattening the entire mountain
Cut only the rooms and terraces you need, then keep natural rock around the structure.
Making the entrance too small
Leave enough width for items, villagers and a readable approach.
Ignoring vertical travel
Use stairs, landings, rails or clear ladders so every level stays practical.
Using one block everywhere
Let wood, tuff, moss, snow and lighting distinguish built, weathered and used areas.
Decorating before solving storage
Reserve storage, workstations and an expansion route before adding banners or balconies.
FAQ About Minecraft Mountain Bases
What is the best mountain for a Minecraft mountain base?
Choose a mountain with a safe approach, a useful view side and two natural height levels. Broad slopes suit terraces; steep peaks suit compact vertical bases. Check daylight, food and wood before mining.
How do I make a base in a mountain look good in Minecraft?
Keep natural rock as the rear wall, frame the entrance with a controlled palette, give terraces clear jobs and connect levels with stairs, paths and lighting. Avoid flattening every edge.
What blocks are good for a Minecraft mountain base?
Stone, cobblestone, andesite, tuff and deepslate make strong foundations. Use spruce, oak, moss, snow, calcite, copper and lanterns for entrances, balconies, terraces and focal details.
How big should a Minecraft mountain base be?
Start with a central hall about five to nine blocks wide, then add rooms by level. Reserve space for storage, crafting, sleeping and one expansion route.
How do I build a secret mountain base entrance?
Use a natural cliff face, short tunnel, water screen or shadowed ledge. Keep the approach safe, and make sure the hidden route still has lighting, storage access and a practical interior path.
Turn a Mountain Palette Into a Buildable Sequence
Compare stone, tuff, deepslate, spruce, moss and accent blocks before you repeat a gradient across the entrance, retaining walls or mountain terraces.
Use the Minecraft Gradient Generator