Quick Answer: How to Plan a Minecraft Storage Room
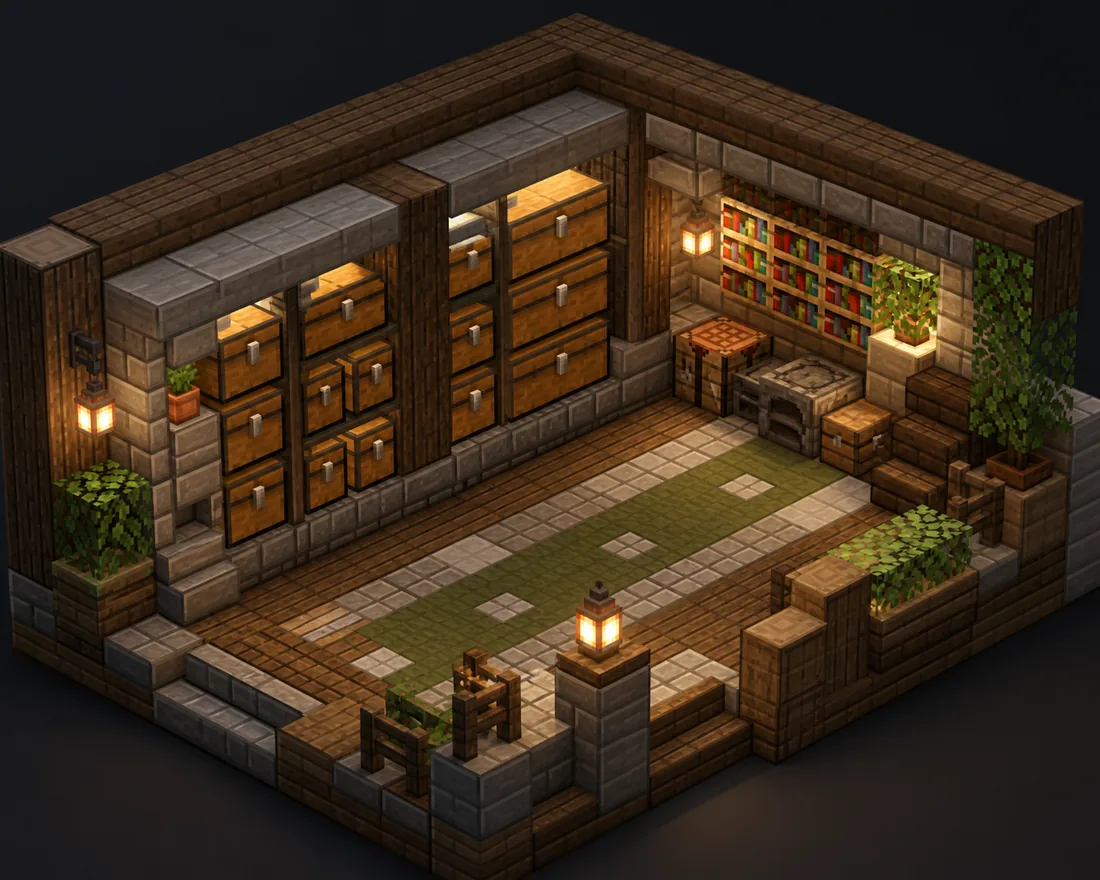
The best Minecraft storage room puts frequent items near the entrance and rare or technical items farther back. Keep the route clear, label broad groups, and reserve a wall or upper level for growth.
Pair double chests with a one-block label strip and a three-block aisle. Add crafting and smelting nearby; use barrels, shulkers or an ender chest for overflow.
Fast Storage Room Recipe
- List the ten item groups you use most before placing a single chest.
- Keep the entrance, crafting table, furnaces and building blocks on the shortest route.
- Use double chests for bulk items and barrels for narrow, high-frequency spots.
- Leave a label strip, light source and walking space above every chest row.
- Reserve one wall, corner or staircase for a second storage level.
- Test the route while carrying a full inventory before adding decoration.
Storage Room Rules That Prevent Chest Chaos
A storage room is a navigation problem disguised as a build. Players remember a room by landmarks, light and the direction of travel, so a beautiful wall of identical chests can still be slow to use. Give each zone a visible material change or a short sign, then repeat the same category order on every wall.
Start with broad groups such as stone, wood, terrain, food, farming, combat, tools, redstone and valuables. Split a group only when it fills regularly. This keeps the first version flexible and avoids spending an hour labeling empty containers.
For the different container sizes and mechanics, check the Minecraft chest reference before choosing a sorting system or redstone upgrade.
Use a bright entrance, one floor pattern and repeating beams as landmarks. Add filters later; clear manual zones are faster than an unfinished machine.
Connect the room to crafting, smelting and farm routes. A second door can handle bulk unloading without adding a long corridor.
For a room that combines storage with crafting and lighting, compare the Minecraft interior design guide before deciding how much space the storage wall should occupy.
Minecraft Storage Room Palettes and Label Systems
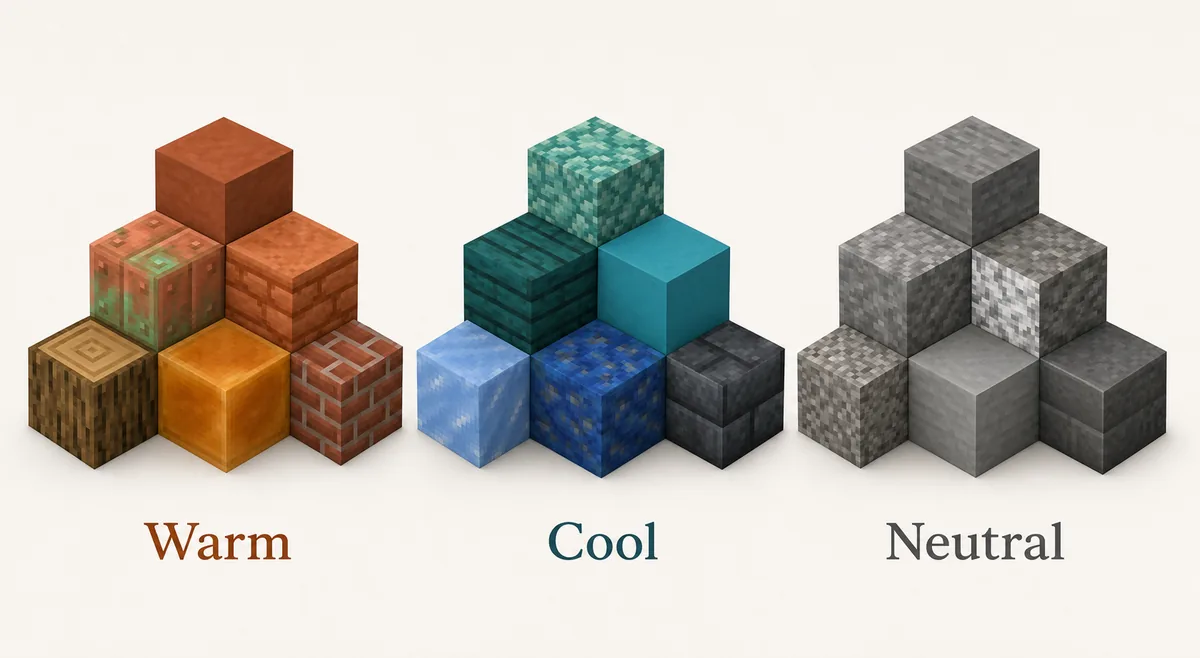
Choose one structural family, one trim material and one label method. The goal is a calm background that makes chests, signs and item frames easy to scan rather than a wall of competing textures.
| Storage style | Block sequence | Label and lighting idea |
|---|---|---|
| Spruce workshop | stone bricks -> spruce logs -> spruce planks -> lanterns | Use item frames on stripped-log posts and keep the aisle warm. |
| Compact starter room | cobblestone -> oak planks -> barrels -> trapdoors | Put barrels above workstations where double chests do not fit. |
| Deepslate vault | cobbled deepslate -> deepslate bricks -> tuff -> iron bars | Give valuables a darker end wall and use lanterns at each bay. |
| Bright trading store | calcite -> smooth stone -> oak -> copper | Use colored blocks or banners to separate villager trade stock. |
| Mossy cave store | stone -> mossy cobblestone -> spruce -> moss | Keep moss around the entrance and use signs inside the dry aisle. |
| Nether supply room | blackstone -> basalt -> crimson wood -> soul lantern | Group fire-resistant supplies near the portal route. |
| Mountain pantry | tuff -> stone bricks -> barrels -> spruce fences | Store food and farming items beside the farm entrance. |
| Modern clean room | smooth stone -> quartz -> gray concrete -> glass | Use a thin color stripe above each category instead of cluttered frames. |
| Hidden bunker | deepslate -> polished basalt -> dark oak -> tinted glass | Keep the public wall simple and place rare loot behind a second door. |
| Village warehouse | stone bricks -> andesite -> oak -> hay bales | Place bulk crops and building blocks close to the loading path. |
12 Minecraft Storage Room Layout Ideas
Start with one chest wall, a three-block aisle and a workbench at the end. A U shape adds capacity without extending the entrance, while two walls can separate building blocks from survival supplies.
A hub-and-spoke base keeps everyday items at the center, with short branches for stone, wood, farming, mob drops and redstone. In tight terrain, a tower or split-level cave saves floor space; give every landing a clear category and safe stairs.
Other options include a loading-bay warehouse, circular map-table ring, hidden valuables room, Nether annex, villager store, color-coded corridor or shulker packing room. Match the shape to your normal route instead of forcing a grand plan into a small base.
Place Chests, Labels and Workstations in the Right Order
Mark the entrance and aisle with temporary blocks, then walk the route with a full inventory. Keep the first chest near the door, put building blocks, food, tools and torches on the return path, and store rare loot farther back.
Build the wall frame before filling it with containers. Leave a one-block band for signs or item frames, a light every few bays, and enough headroom for trapdoors, chains or a second shelf. If a row is taller than the player can comfortably read, split it into two zones instead of hiding labels at the ceiling.
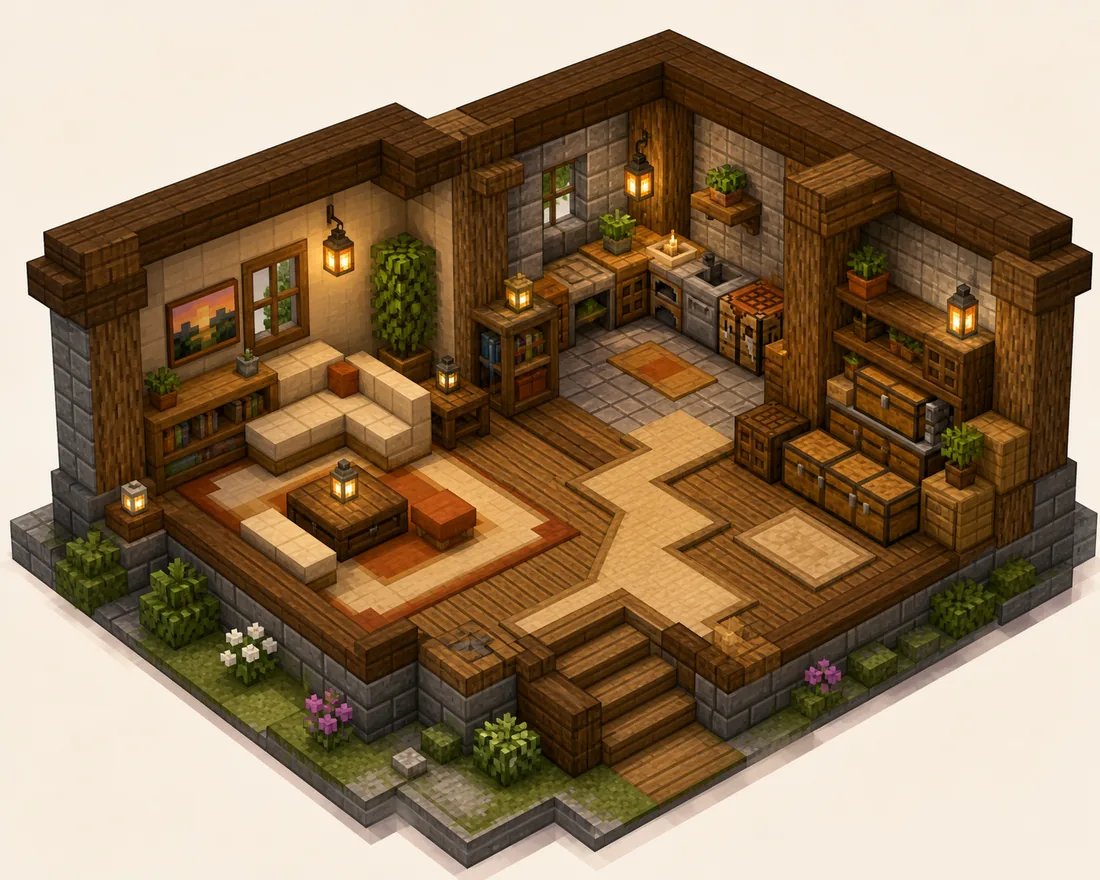
A workstation corner should contain the tools that support the room: crafting tables, stonecutters, a smithing table, furnaces and a temporary dump chest. Keep the dump chest deliberately unsorted so mining trips can be emptied quickly and sorted later.
Entrance zone
Put a dump chest, food, torches and the most-used building blocks within a few steps of the door.
Bulk wall
Repeat double-chest bays for stone, wood, terrain and other groups that fill quickly.
Work corner
Keep crafting, cutting, smelting, repairing and a temporary dump chest together.
Rare shelf
Place diamonds, templates, netherite and named tools behind a calmer, well-lit wall.
Expansion edge
Leave a blank bay, staircase or doorway so the room can grow without moving labels.
Loading route
Connect farms, mines, portals and external paths to a direct unloading door.
Build a Storage Room That Works in Survival
Start with six to ten containers and a safe light level. A useful starter room can be a five-by-seven chamber with stone walls, a wood ceiling, two chest rows and one work corner. Move into a larger room only after you know which categories actually fill in your world.
Use common blocks for the shell and spend rare materials on the entrance, labels and focal wall. Barrels are efficient in narrow corridors, while double chests are better for bulk stone, crops and mob drops. Shulker boxes are a late-game layer, not a reason to postpone a clear manual system.
After a few sessions, merge empty categories, expand crowded groups and move frequent items nearer the door. This review matters more than decorating every beam at the start.
For redstone sorting, reserve a service corridor behind the visible wall. Keep hoppers, filters and overflow chests accessible, label the input and output sides, and leave a manual bypass for items that do not fit the filter.
Common Minecraft Storage Room Mistakes
Making every chest identical
Use repeated frames, signs, item frames or material bands so categories can be found at a glance.
Leaving no expansion space
Reserve at least one empty bay or a second level before the first room fills.
Putting workstations too far away
Crafting, furnaces and the dump chest should support the storage loop, not create another trip.
Overbuilding the first version
Begin with a safe shell and useful containers, then upgrade the facade after the category order is proven.
Hiding labels above eye level
Keep the label band readable from the aisle and light it consistently.
Sorting before unloading
Use a temporary dump chest so mining trips end quickly; sort when the room is safe.
Ignoring overflow and exceptions
Add an overflow chest and a manual bypass for items that do not belong in a filter.
FAQ About Minecraft Storage Rooms
What is the best layout for a Minecraft storage room?
A single-wall or U-shaped layout is easiest to use early. Keep high-frequency categories, a dump chest and workstations near the entrance, then add a hub-and-spoke or split-level plan as the base grows.
How many chests should a Minecraft storage room have?
Start with six to ten containers and watch what fills. Add a second chest only to busy categories, leave an expansion bay, and use barrels or shulker boxes where a full double chest is unnecessary.
How do I organize chests in Minecraft?
Use broad groups such as stone, wood, terrain, food, farming, combat, tools, redstone and valuables. Repeat the same order around the room and mark each group with a sign, item frame or material stripe.
Are barrels better than chests for a storage room?
Barrels fit narrow walls and can be opened under a block, while double chests hold more bulk items. Use barrels for high-frequency or tight spaces and double chests for stone, crops and mob drops.
How do I make a small storage room in Minecraft?
Build a five-by-seven room with two chest rows, a three-block aisle and one work corner. Put the most-used items by the door, keep labels at eye level and reserve one wall for growth.
Should I build an automatic item sorter first?
Usually no. A clear manual system is faster to finish and easier to change. Add redstone filters after the categories are stable, and keep a service corridor, overflow chest and manual bypass.
Plan the Palette Before You Repeat the Chest Wall
Compare stone, wood, deepslate, tuff and accent blocks before you build a long storage aisle or a second level.
Use the Minecraft Gradient Generator